
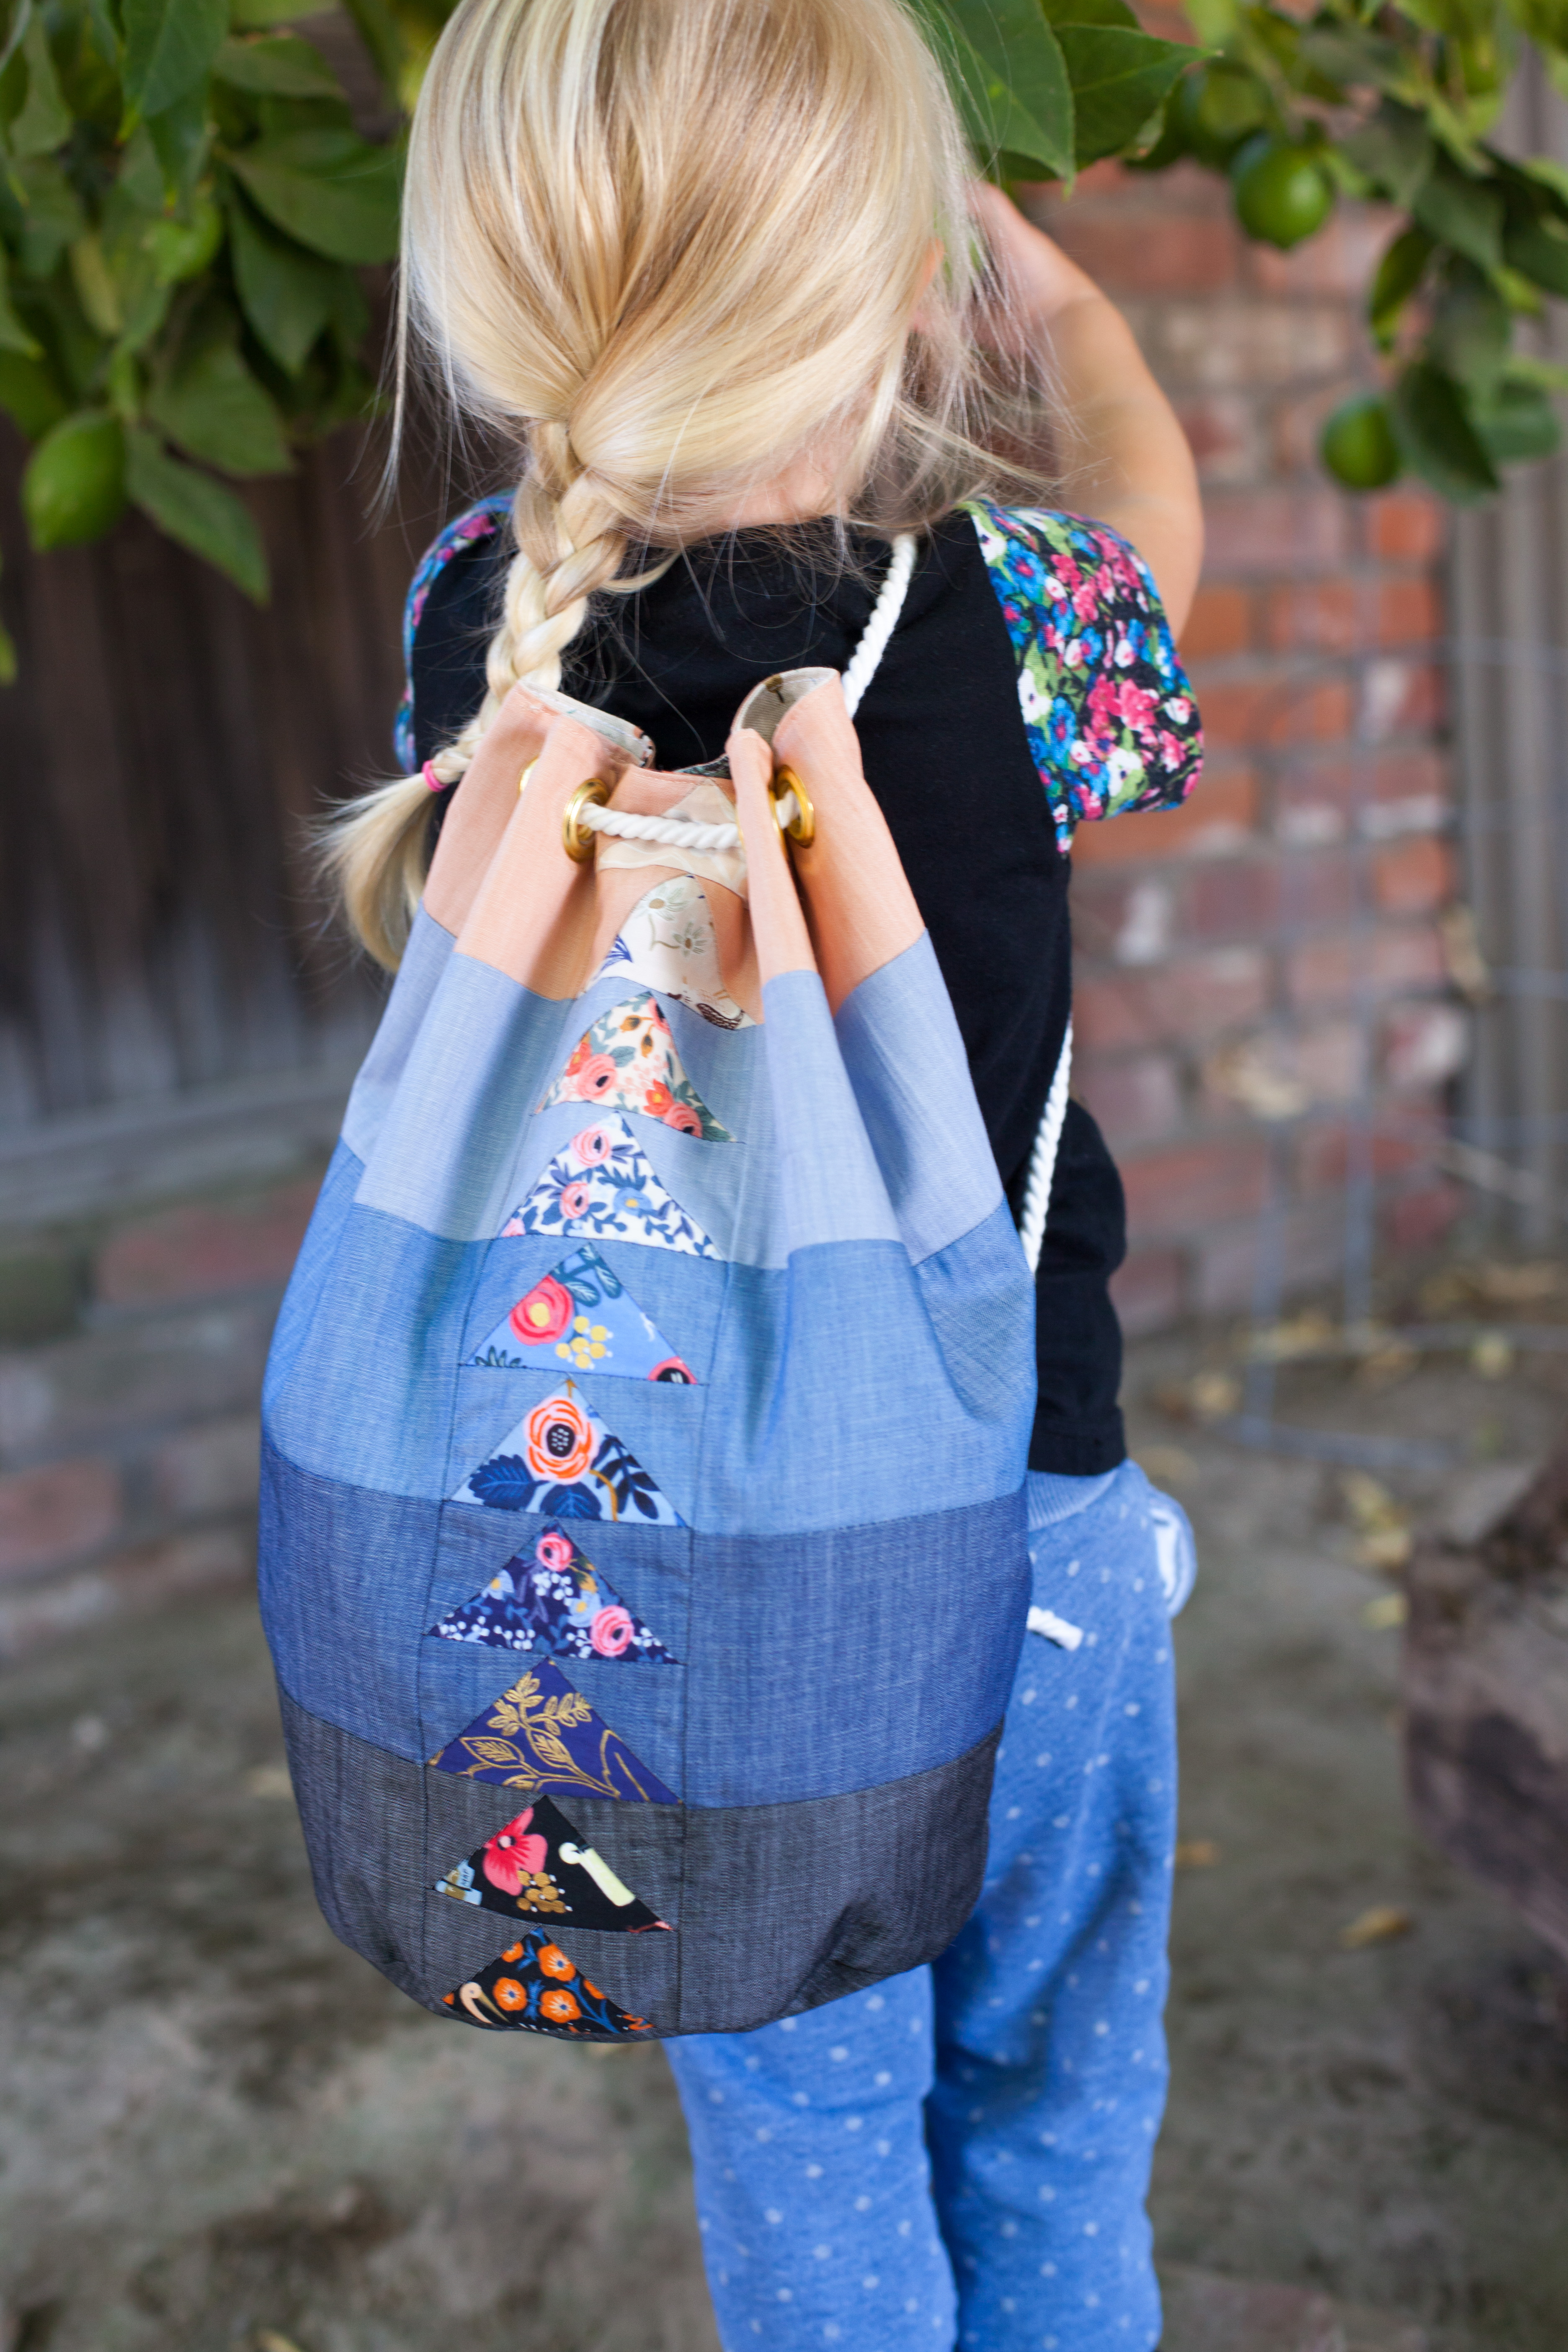
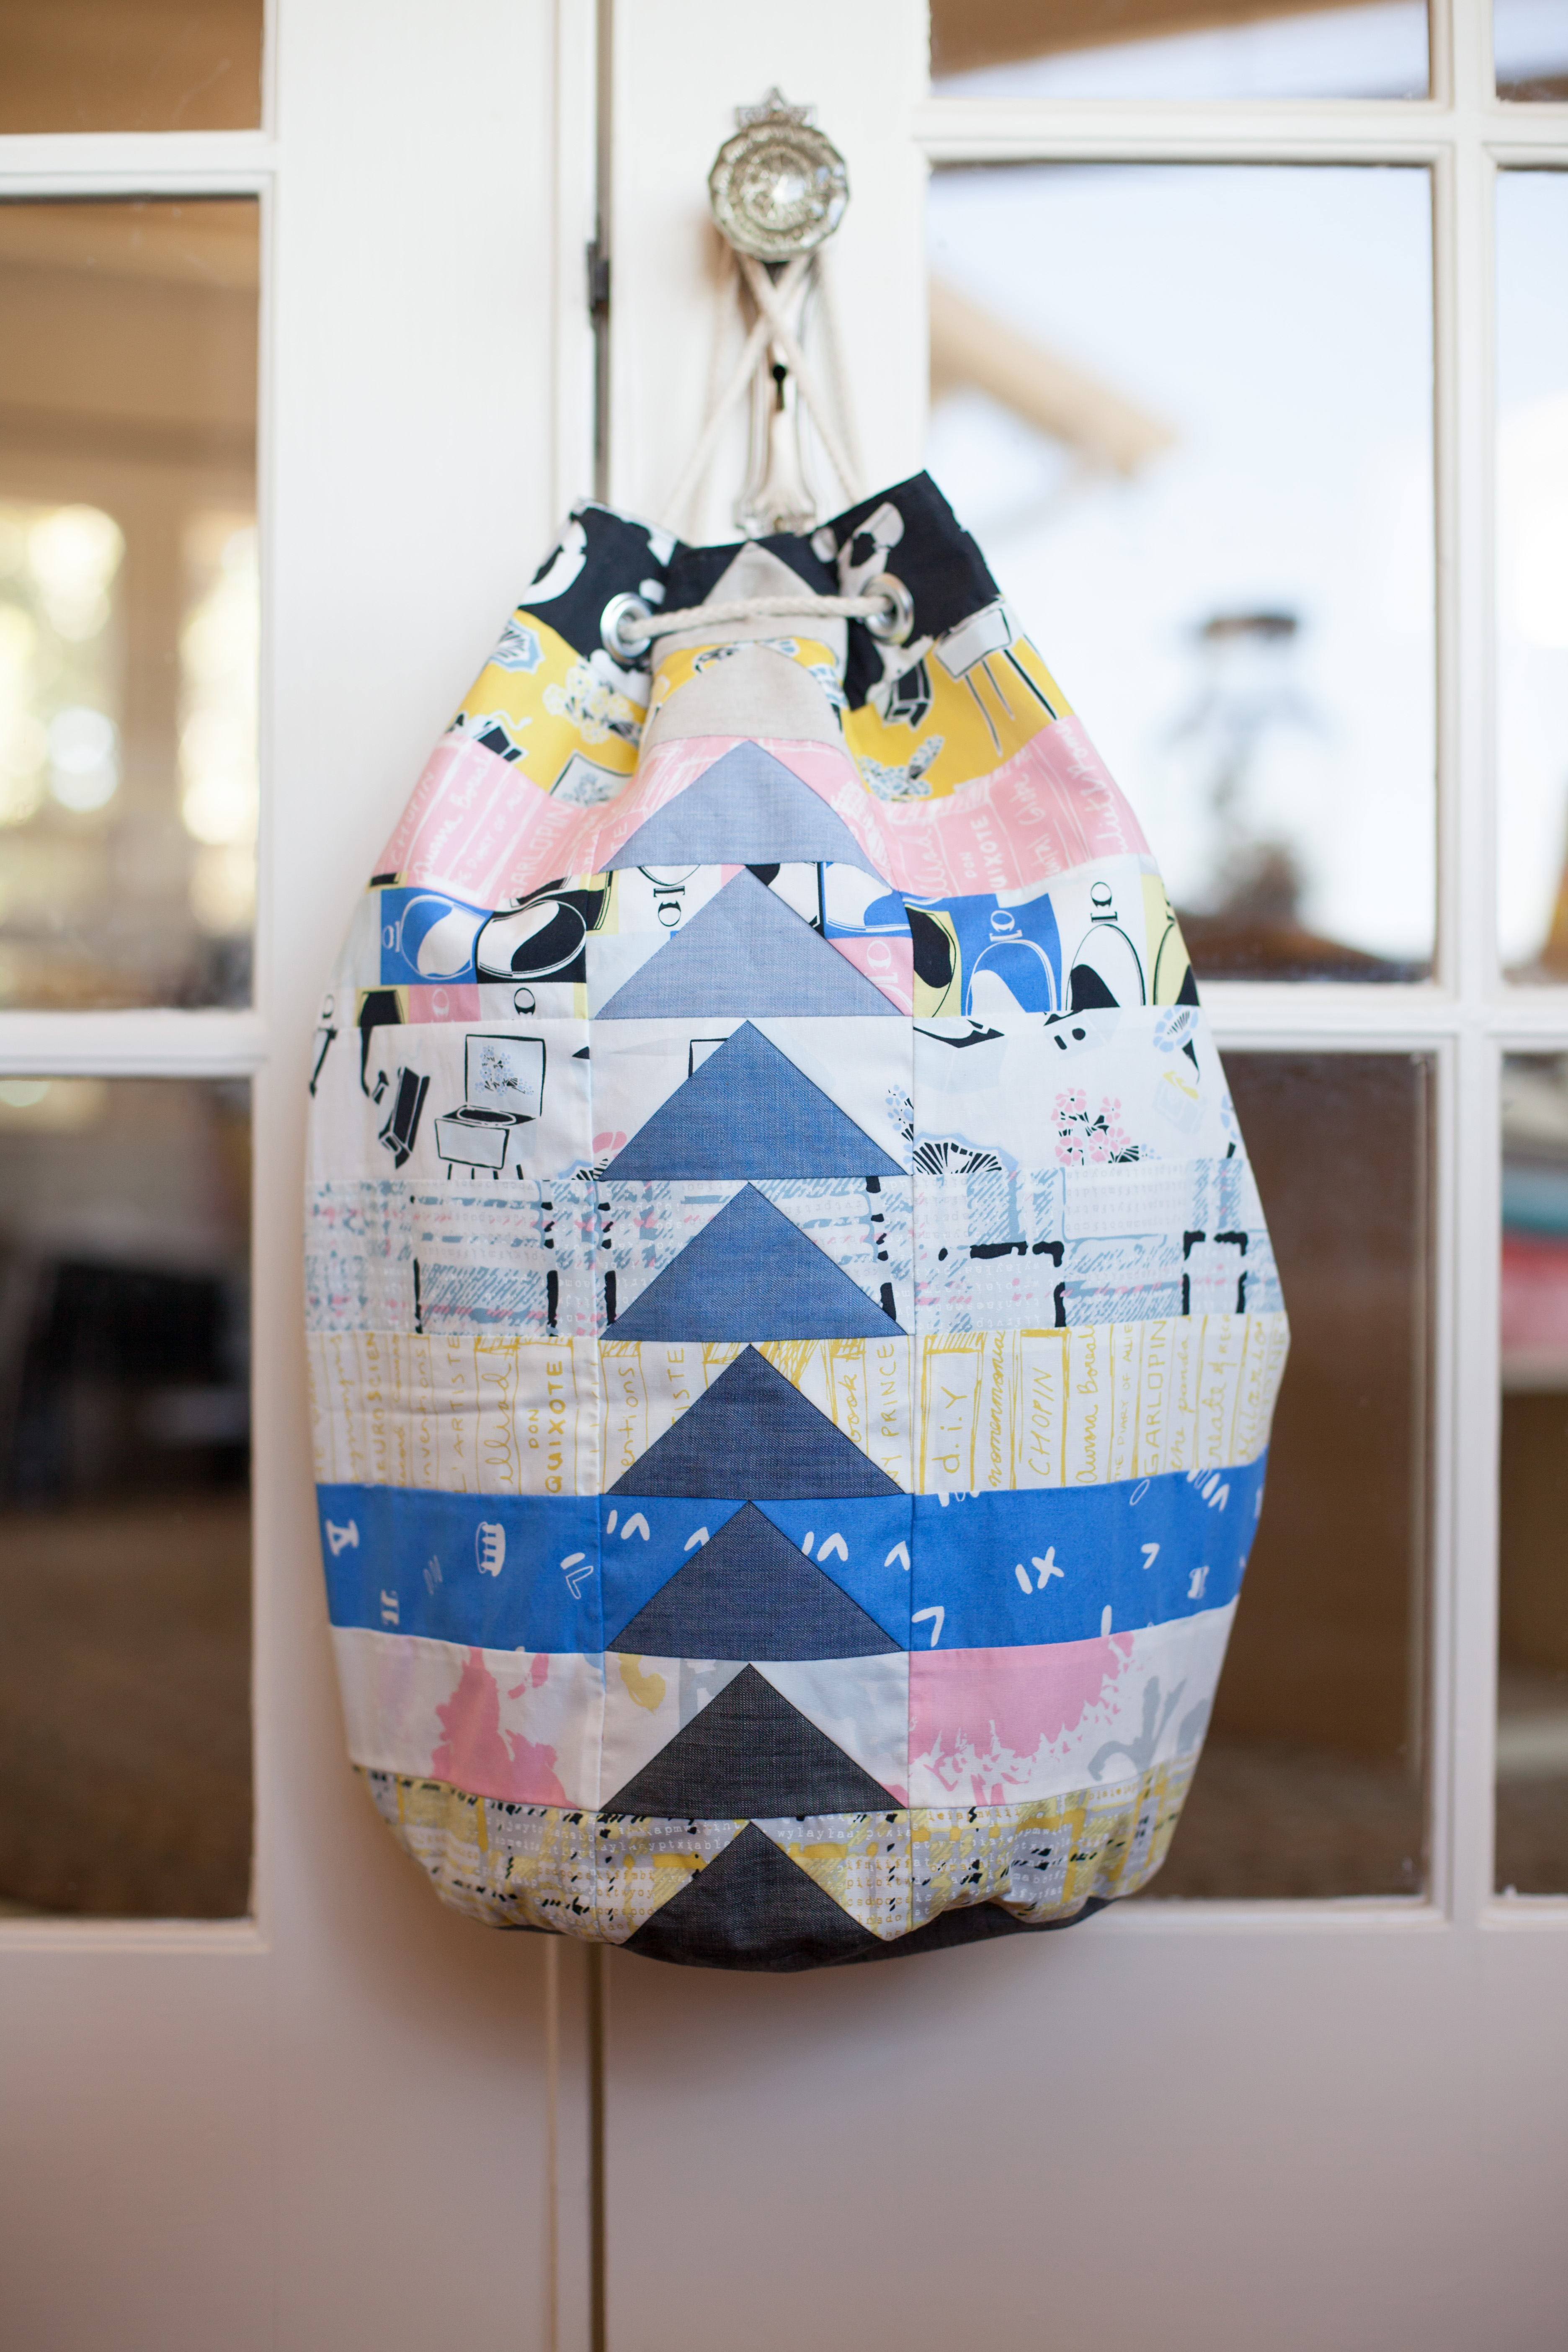
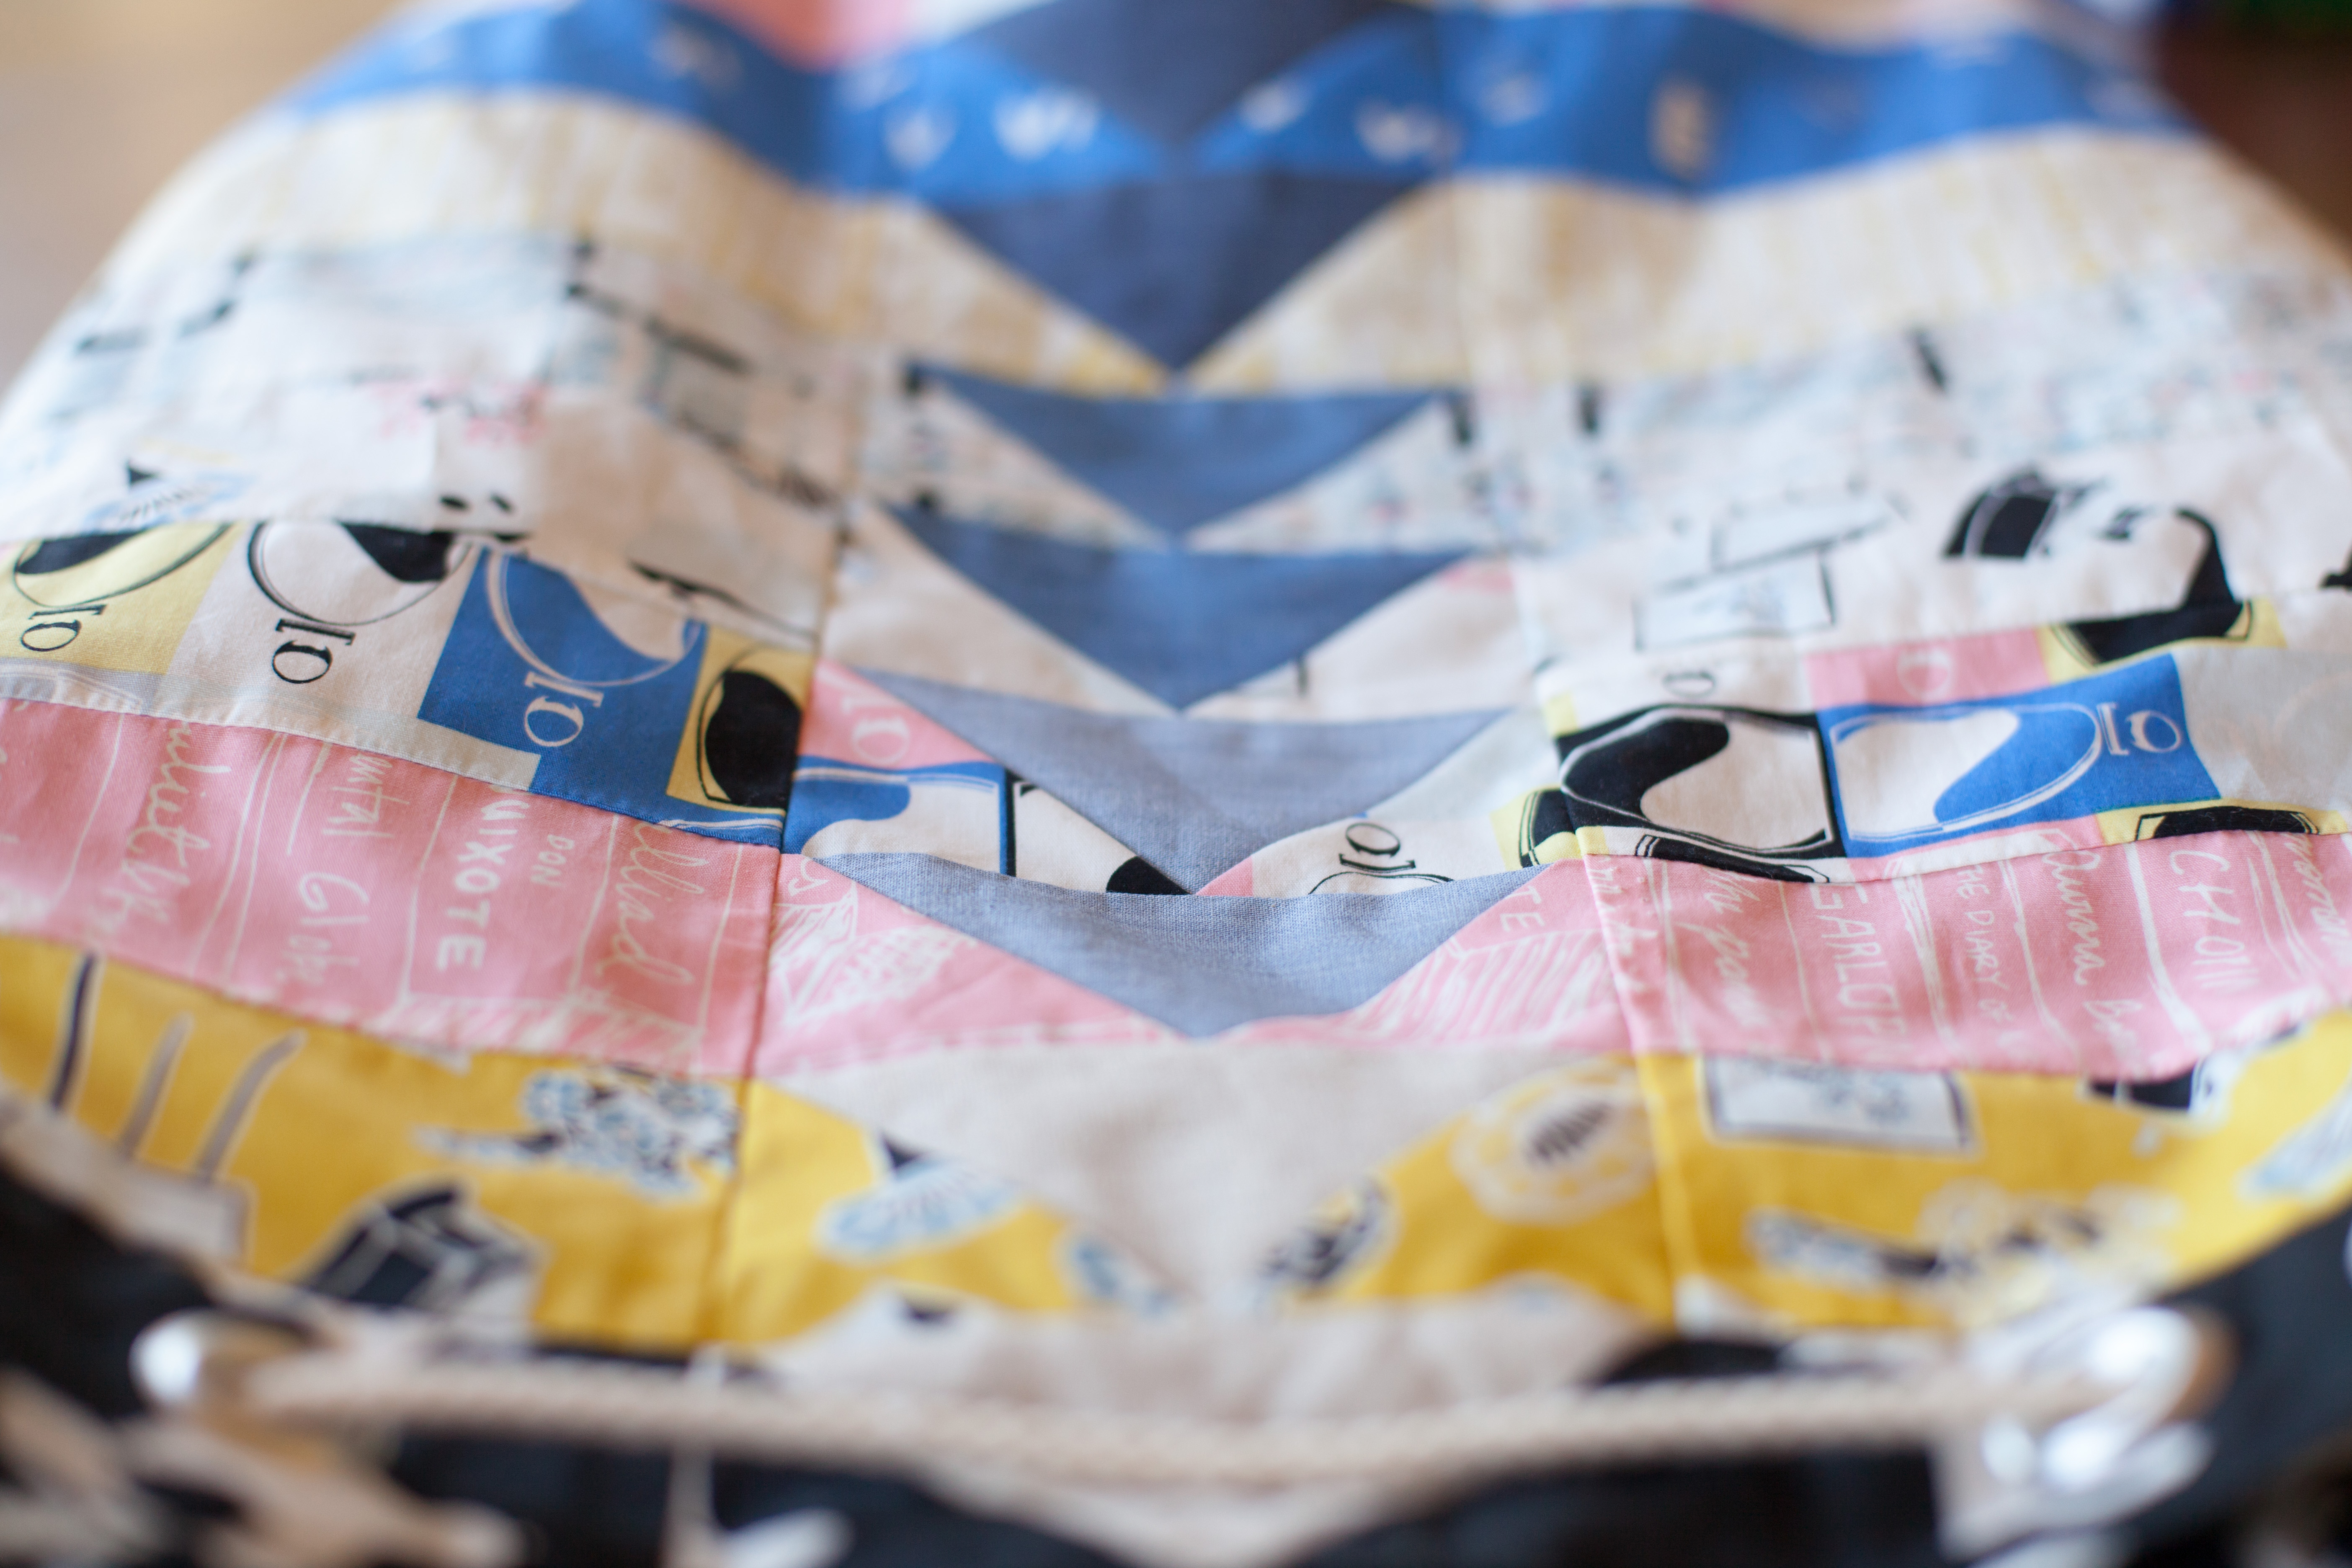
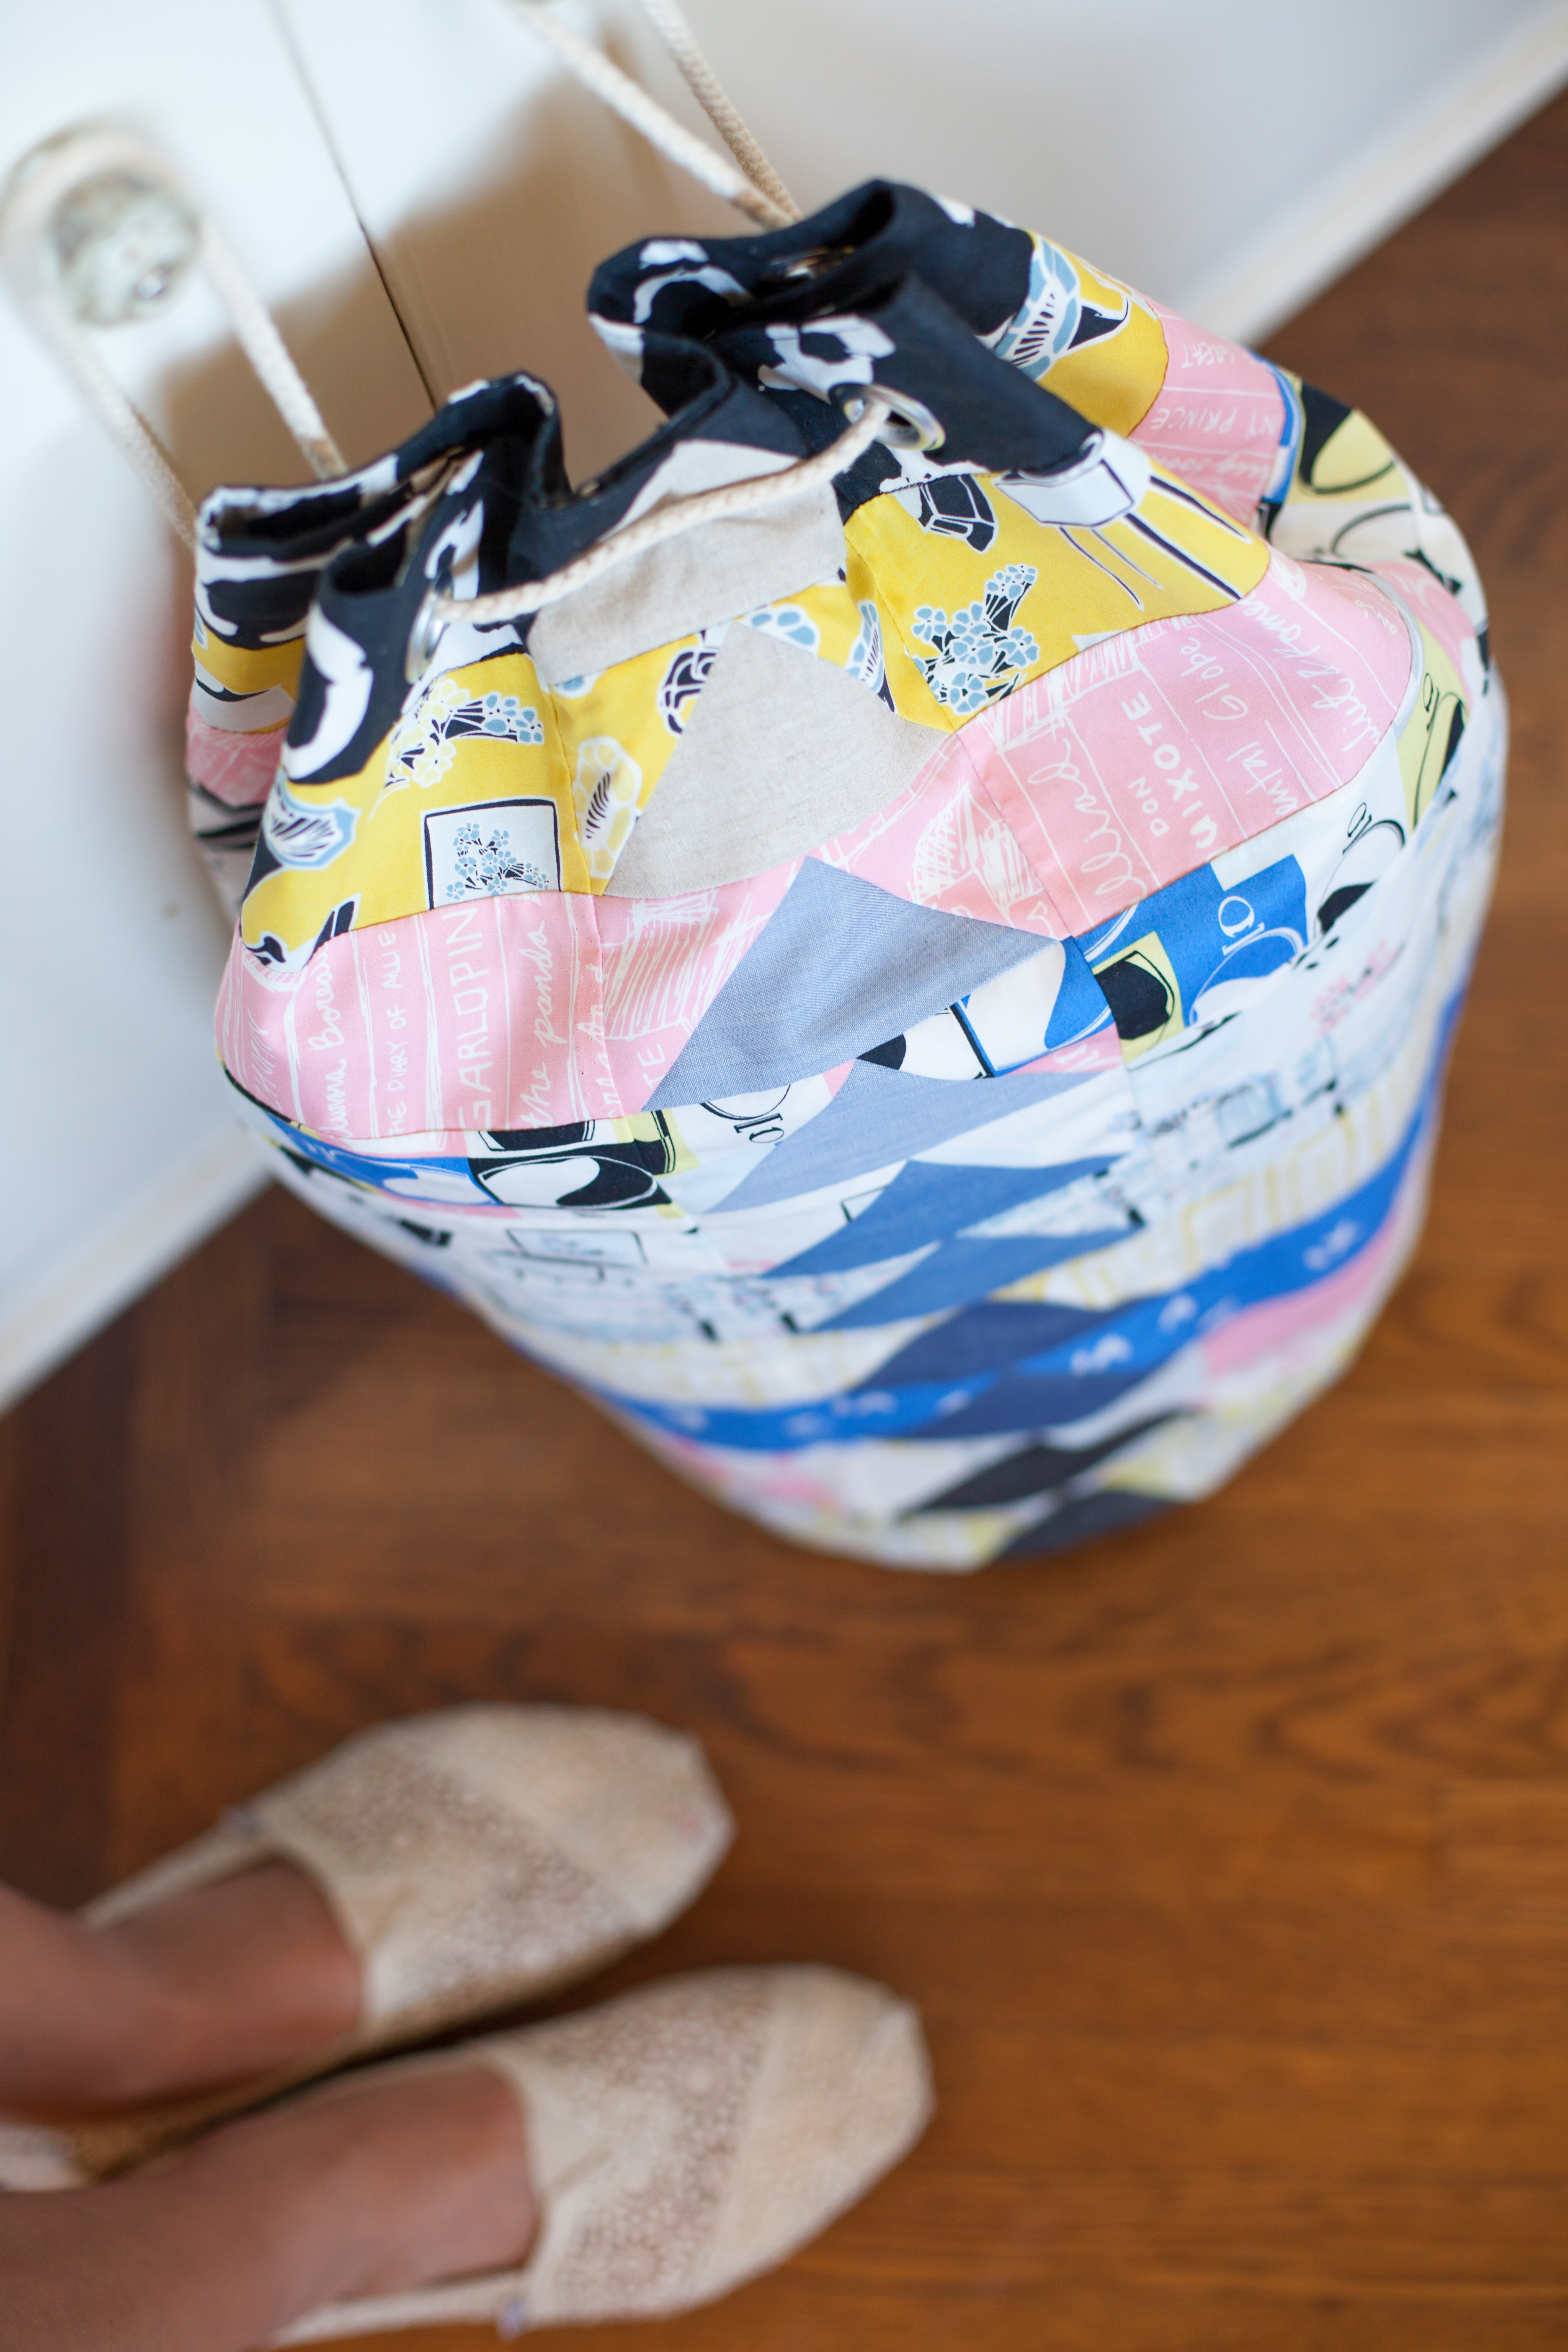
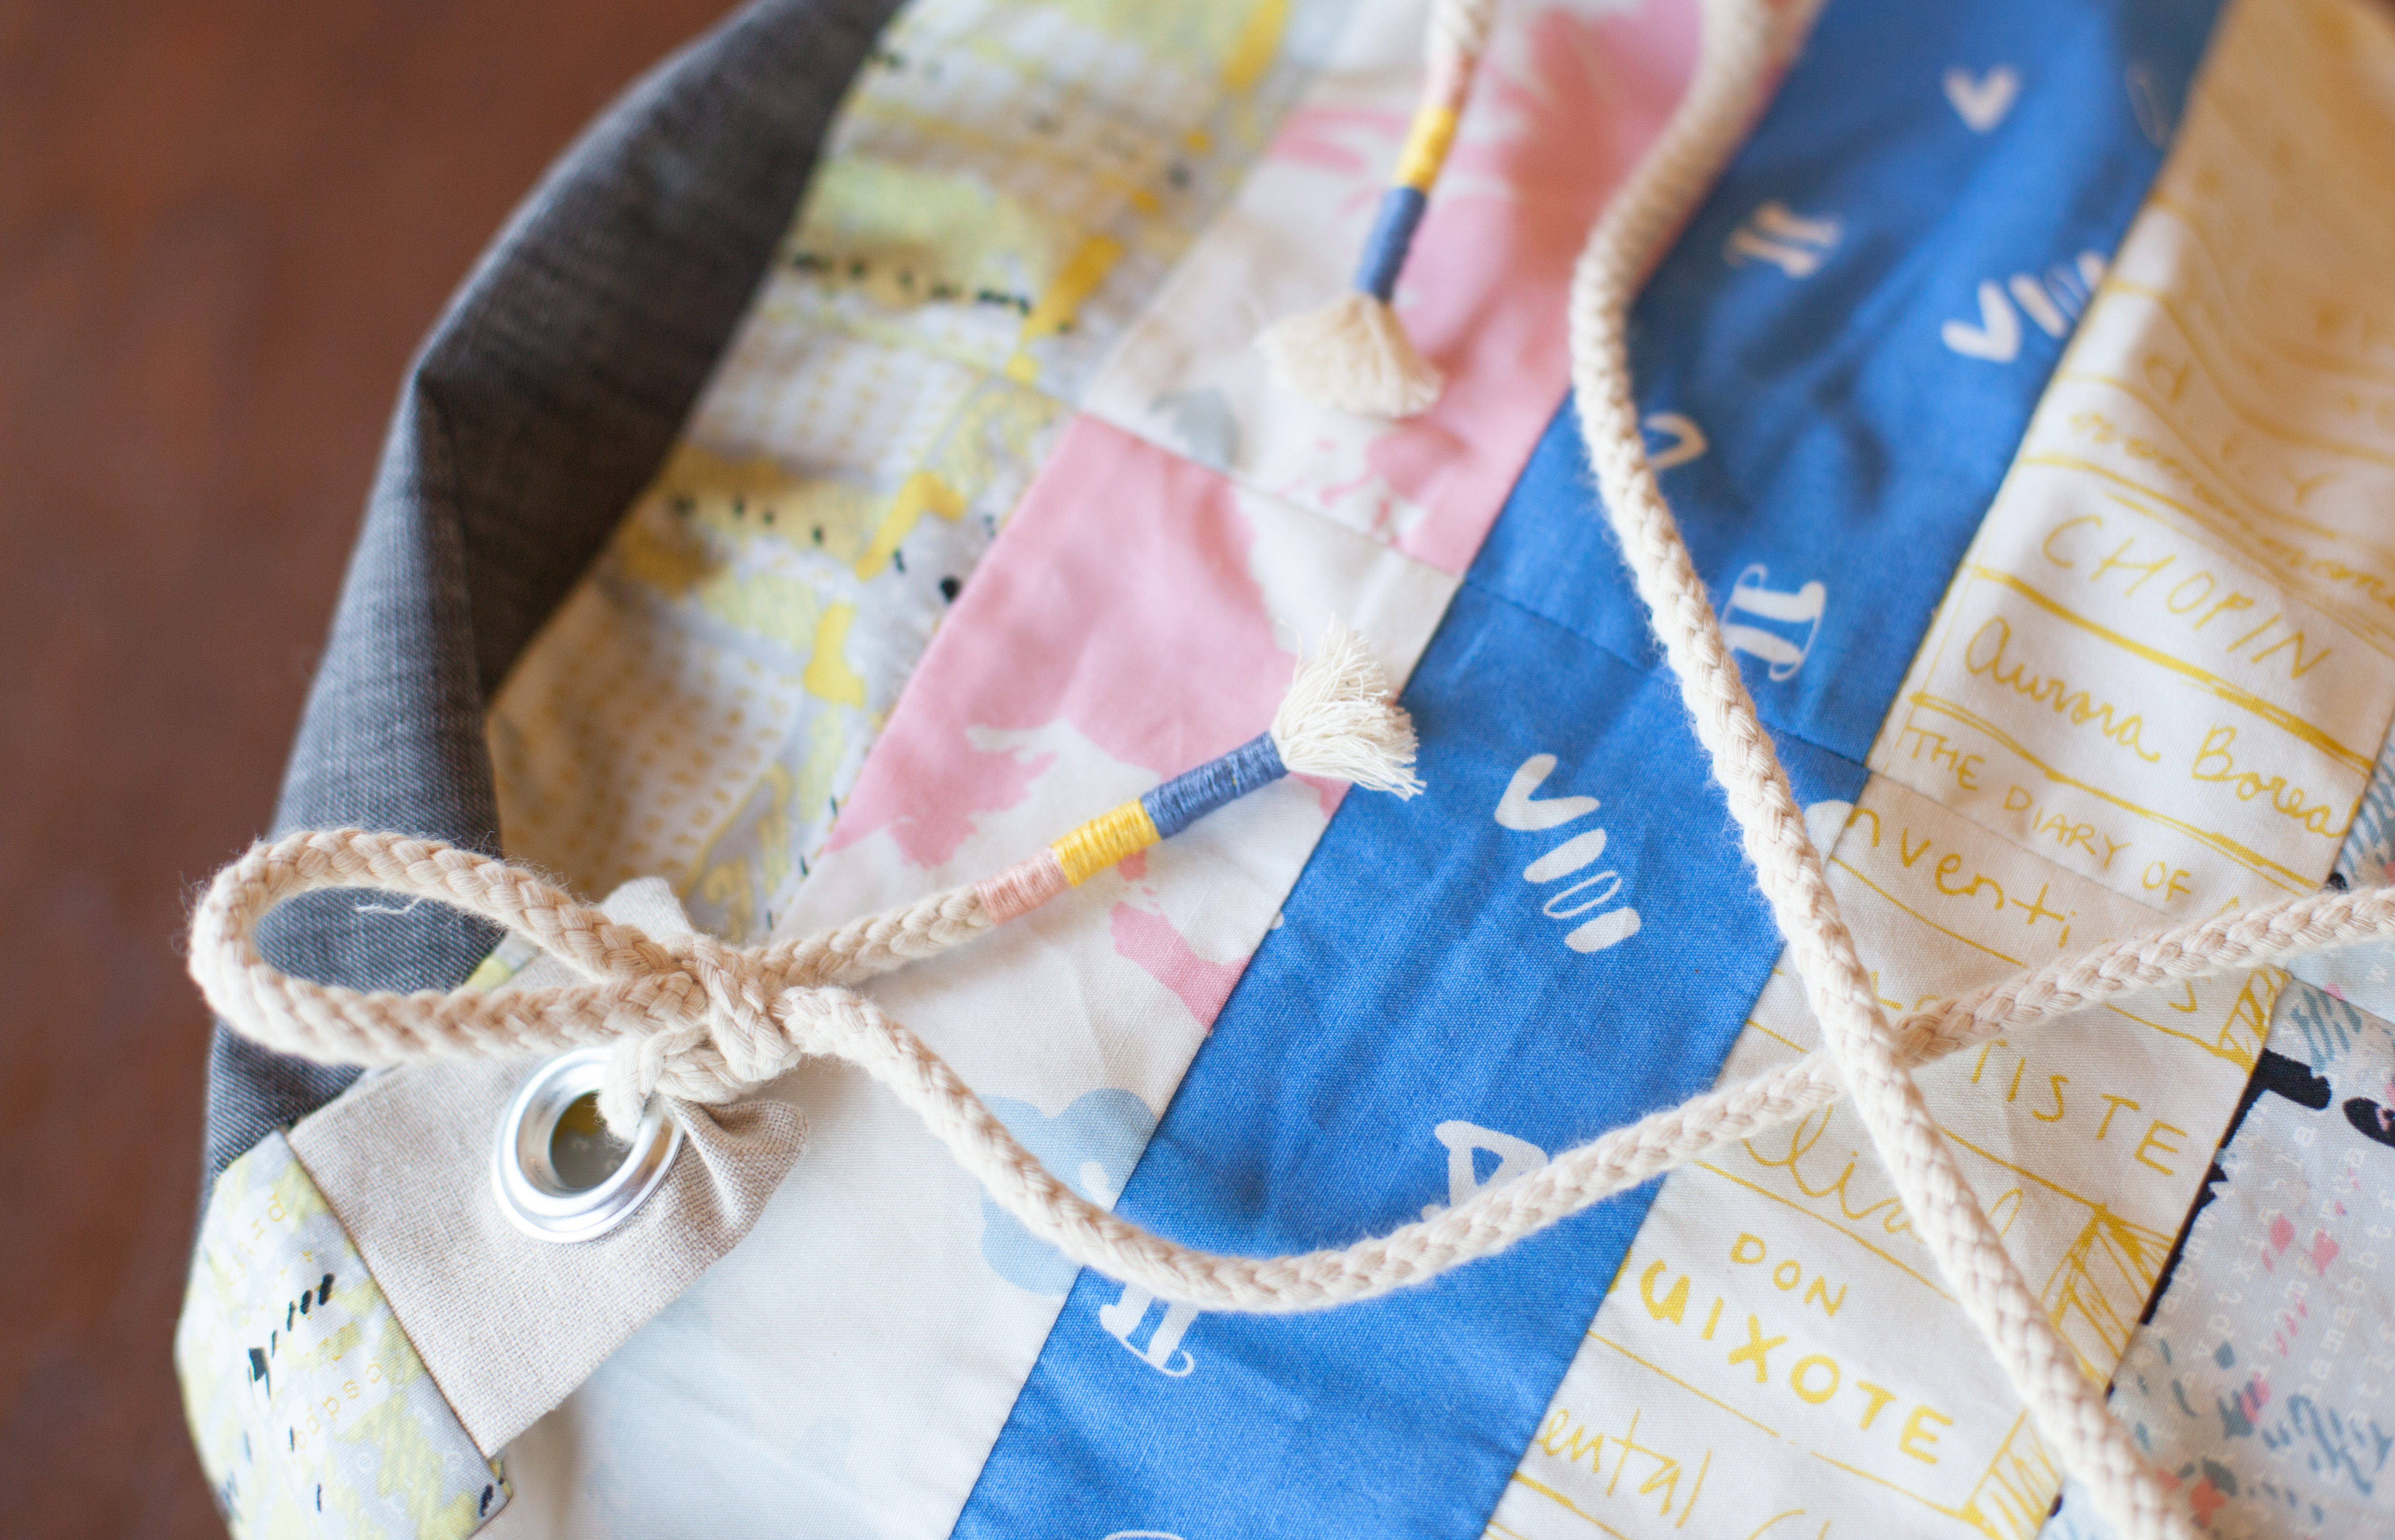
When I saw how cute Giuseppe’s AKA @giucy_giuce’s new patchwork geese bucket bag was I knew I had to get in on the action for this sew-along. It is always such a cool thing when the lovely people of the sewing community are willing to give away their patterns purely for the joy of seeing what the rest of us will create with it. Its a great pattern and approachable at all levels. Probably the thing I love the most is the simplicity of it. It’s super functional, and its design allows for the maker to run wild with possibilities for making it their own. I stuck to the geese pattern but I have already seen so many amazing ideas for paper piecing and various blocks used in lieu of the geese. You can take a gander at what other fabulously creative peeps in the sewing community are doing to customize their bag HERE. I made one for myself and before I was done cutting it out I was already plotting the mini-me version for my daughter Evelyn. Scroll down to view pics my bag made as per the tutorial without any alterations.
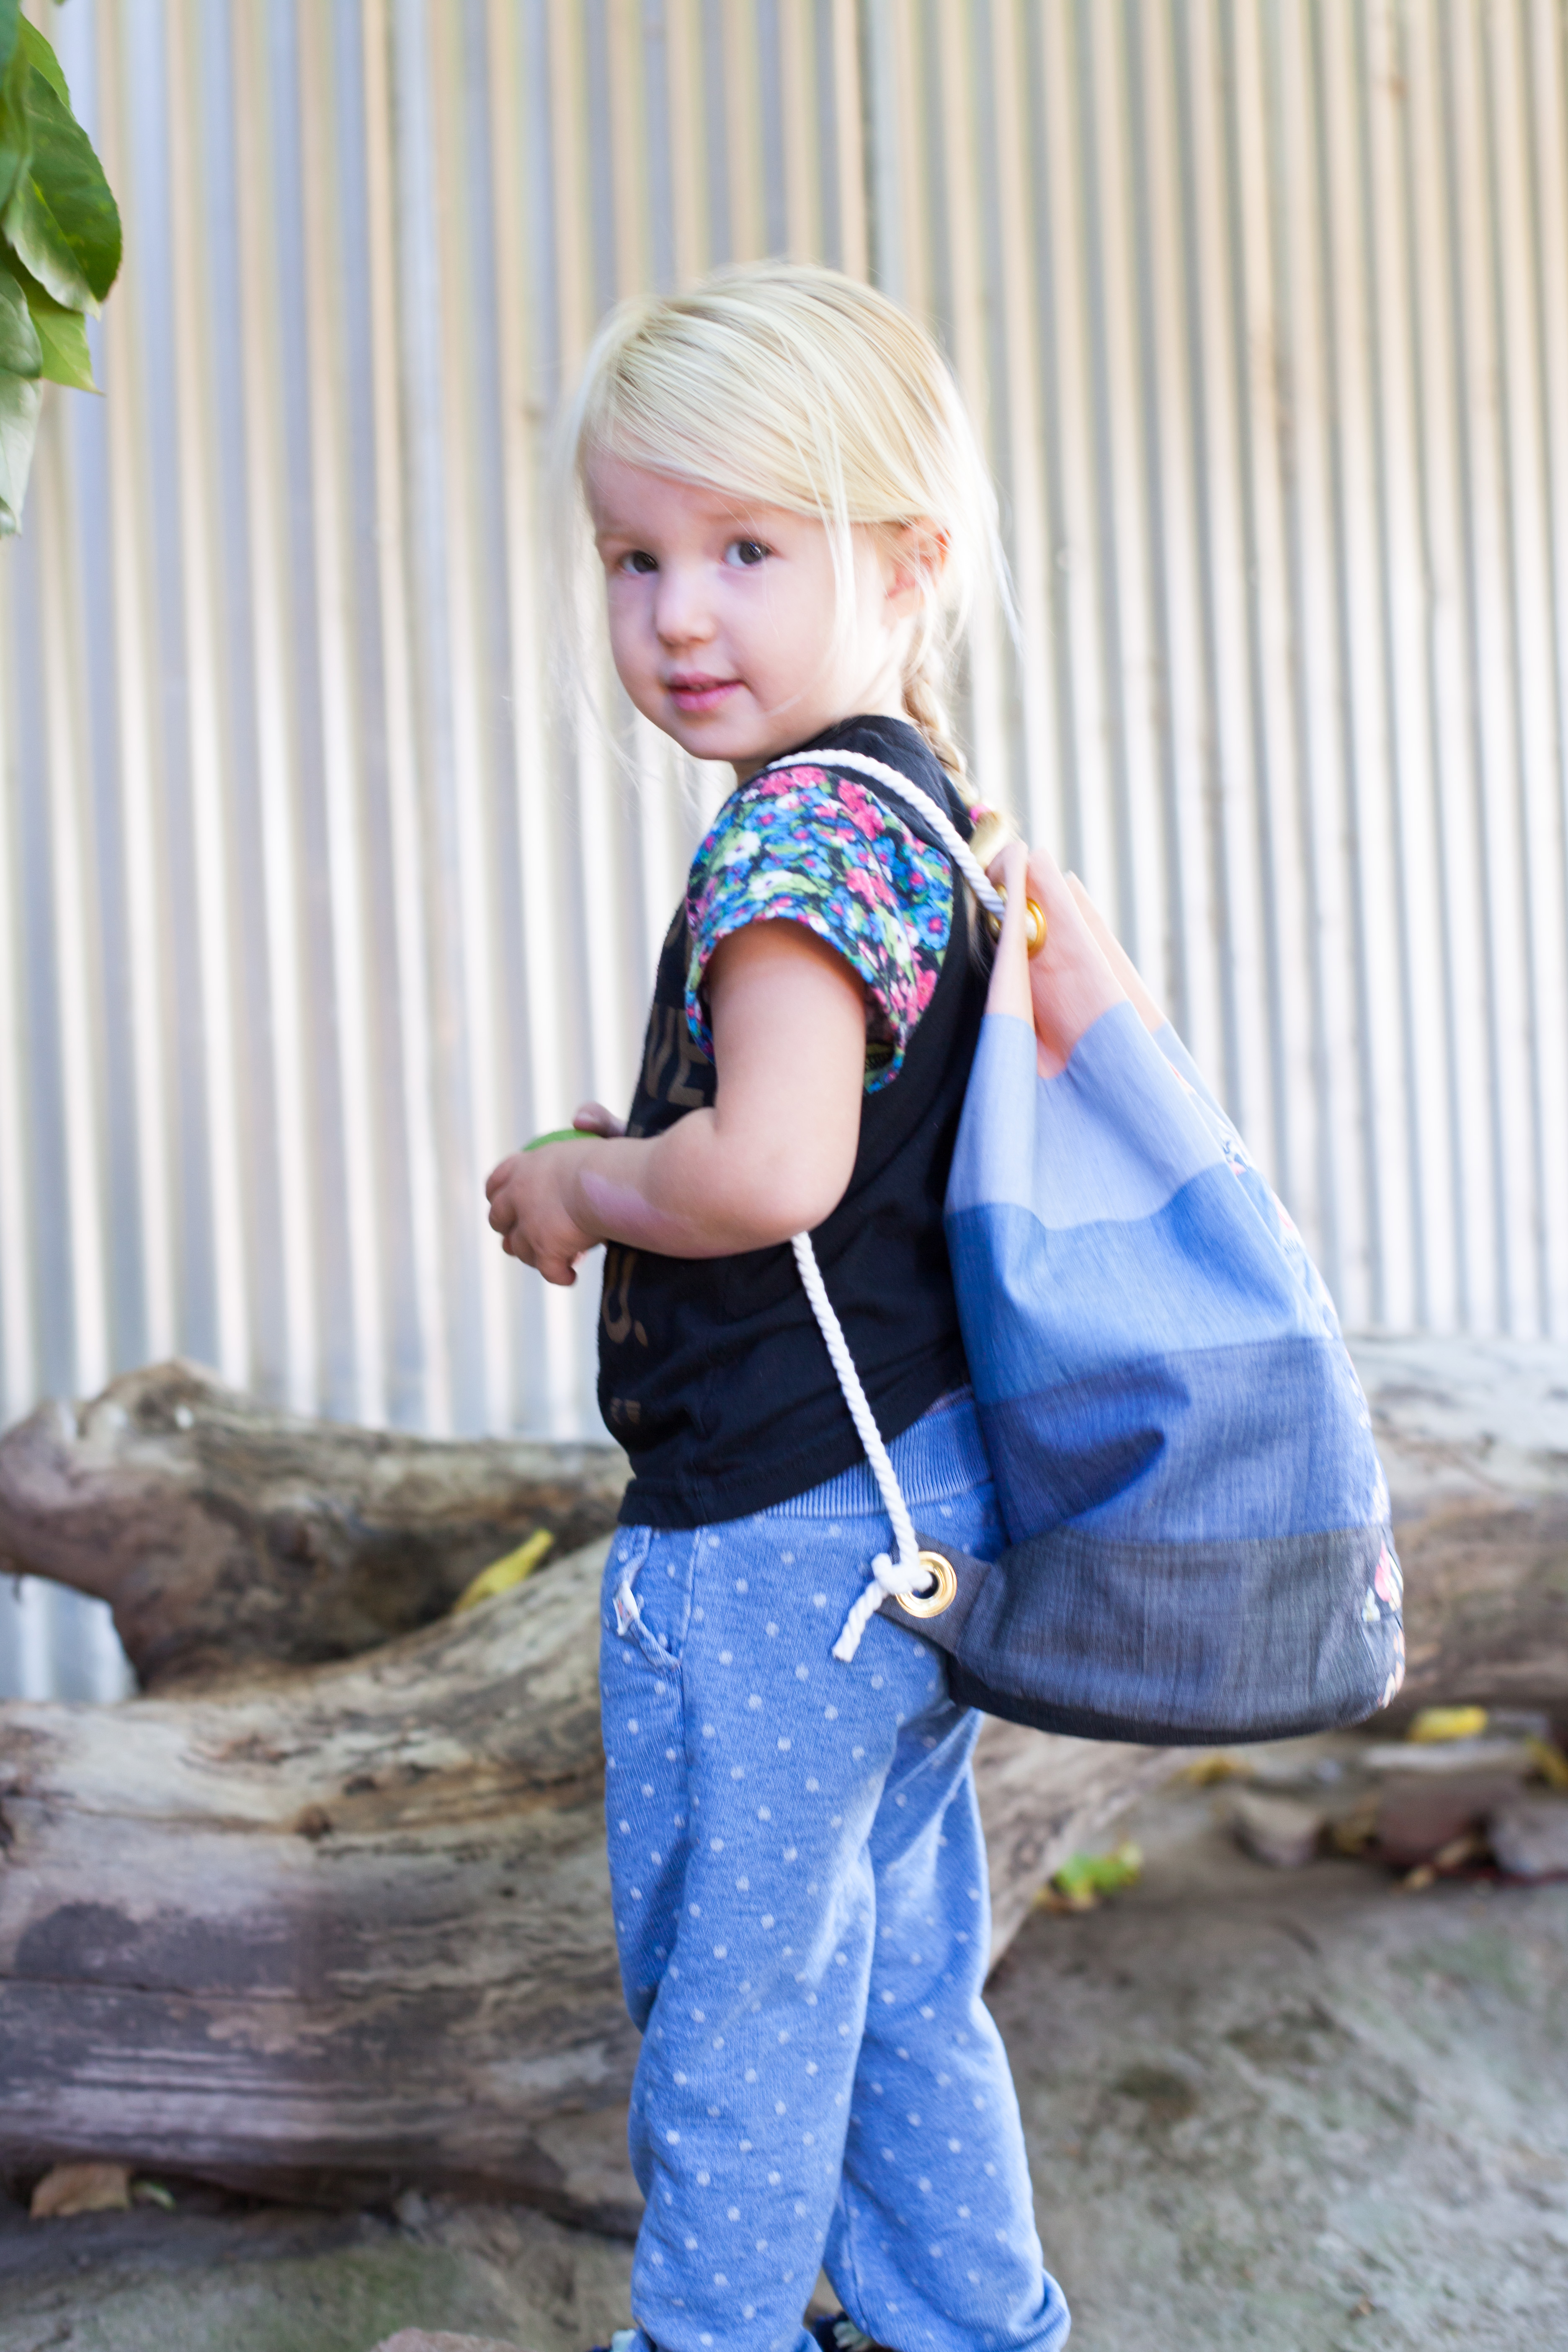
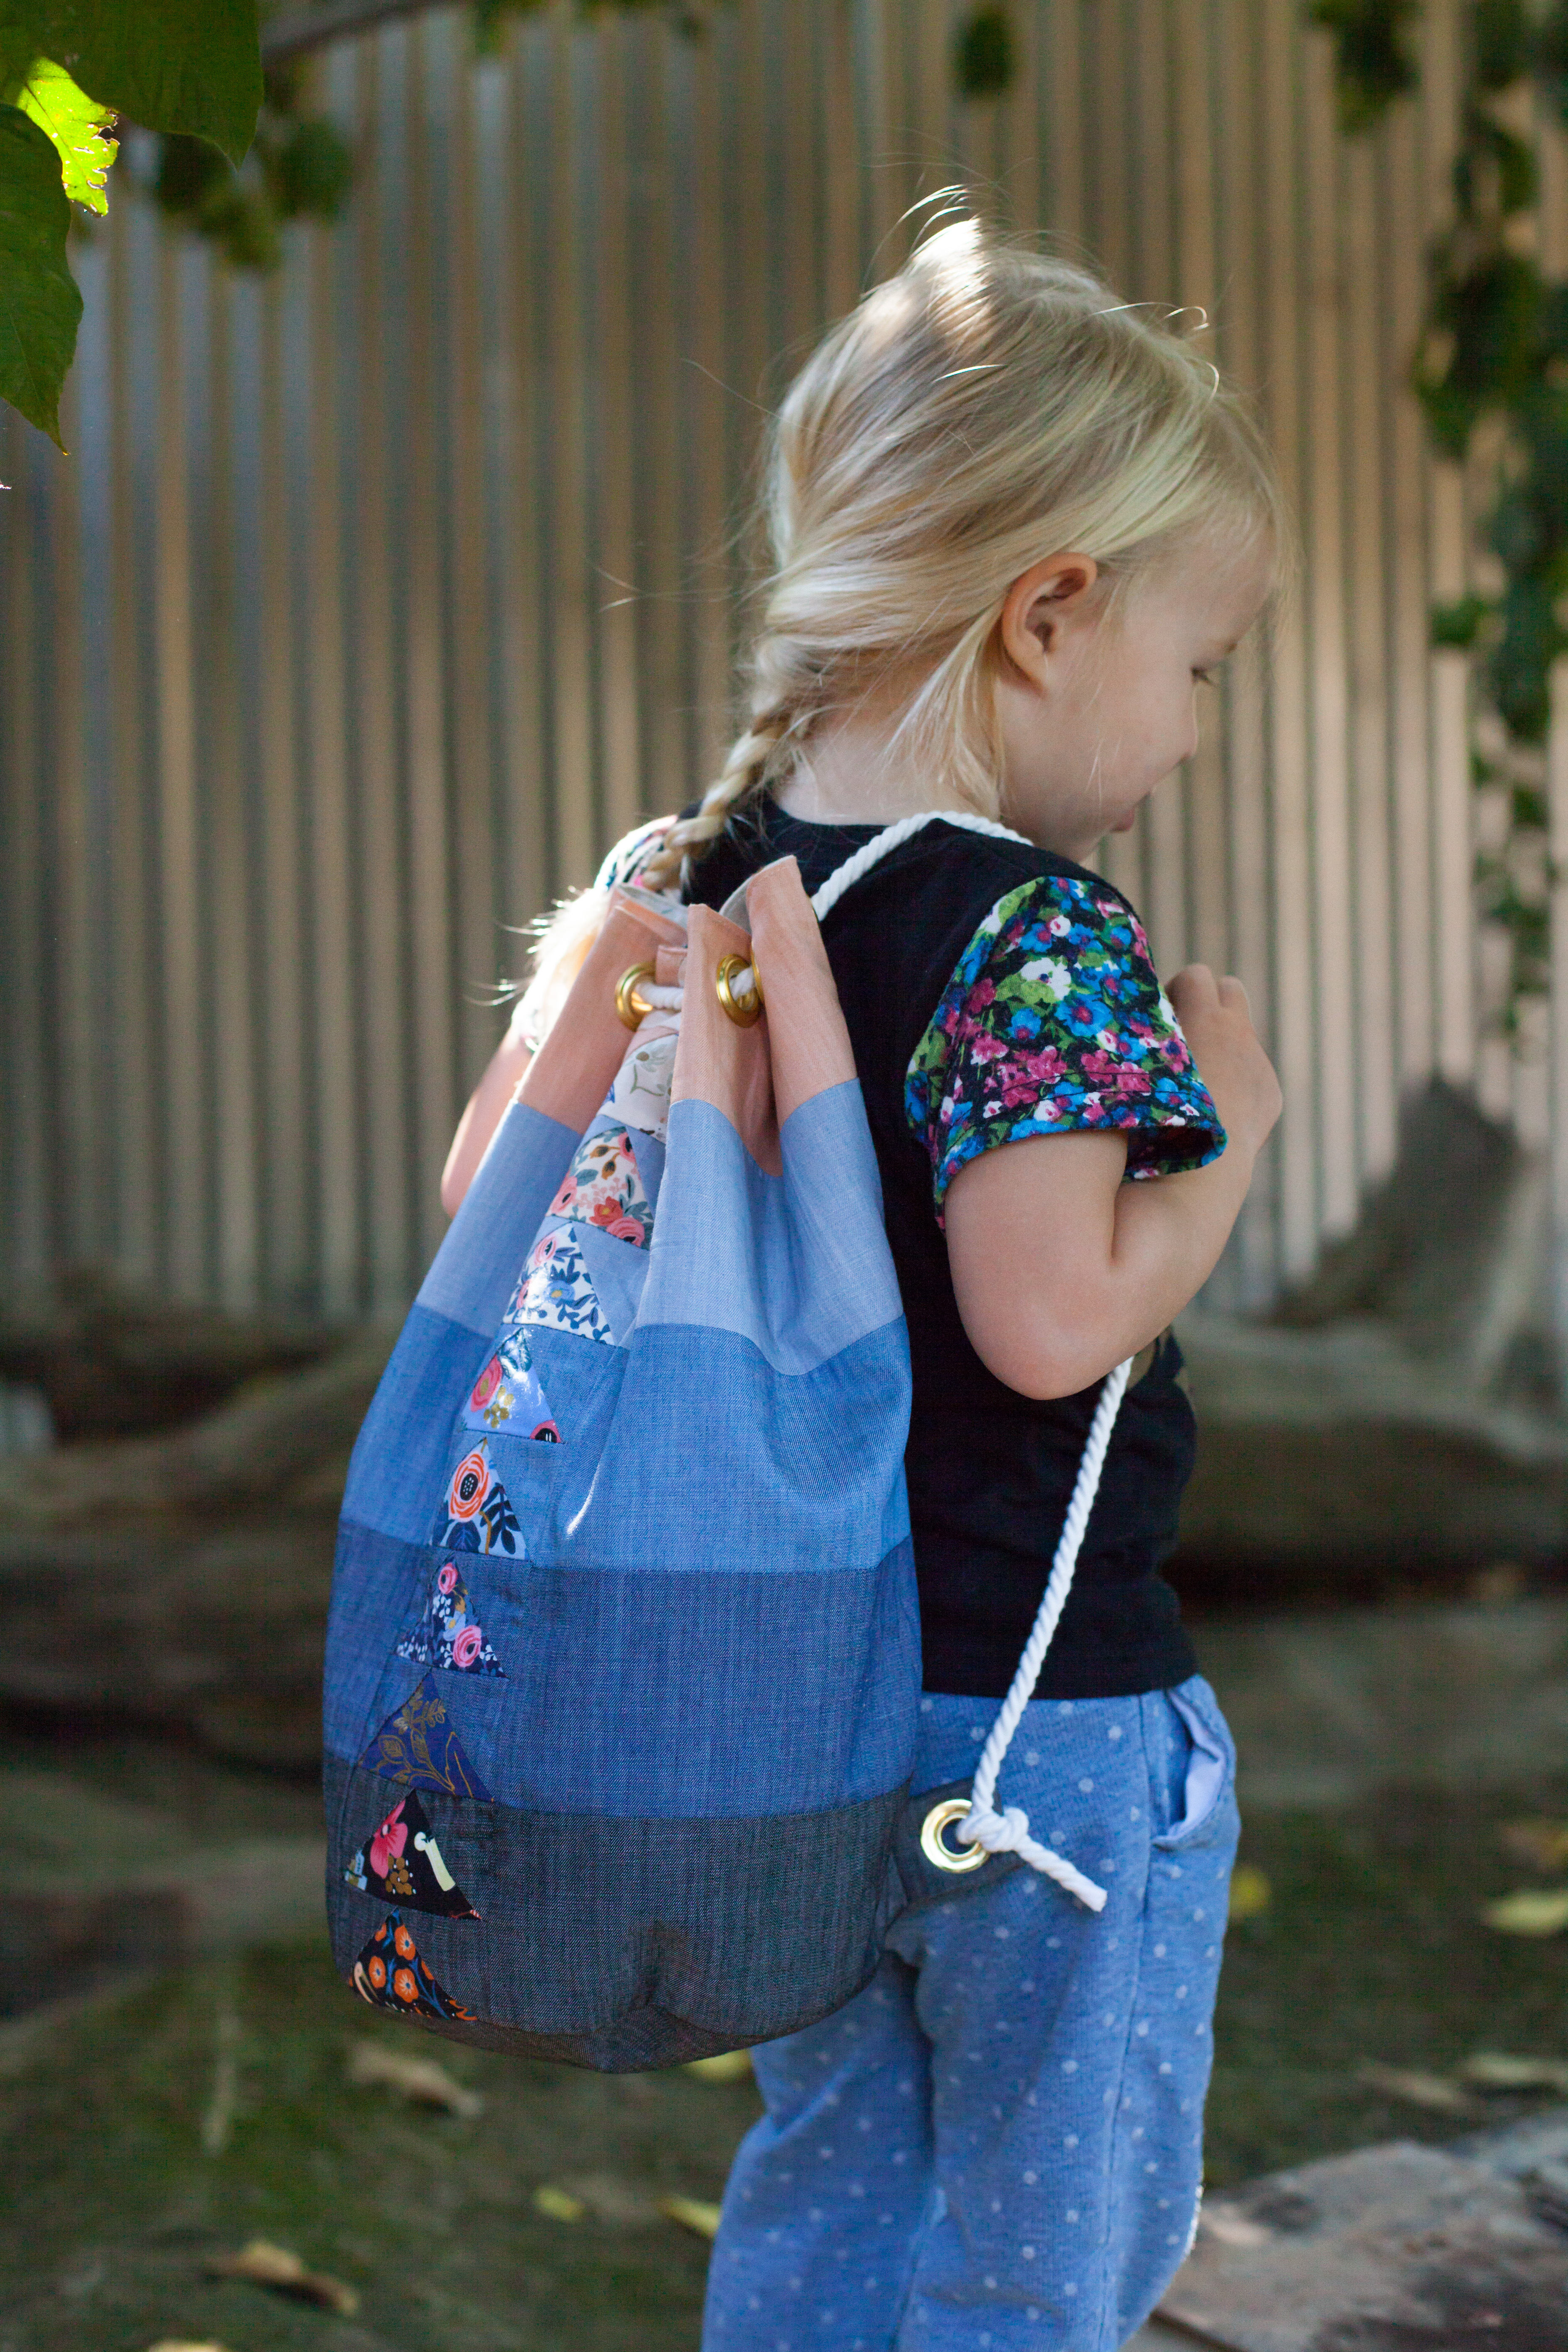
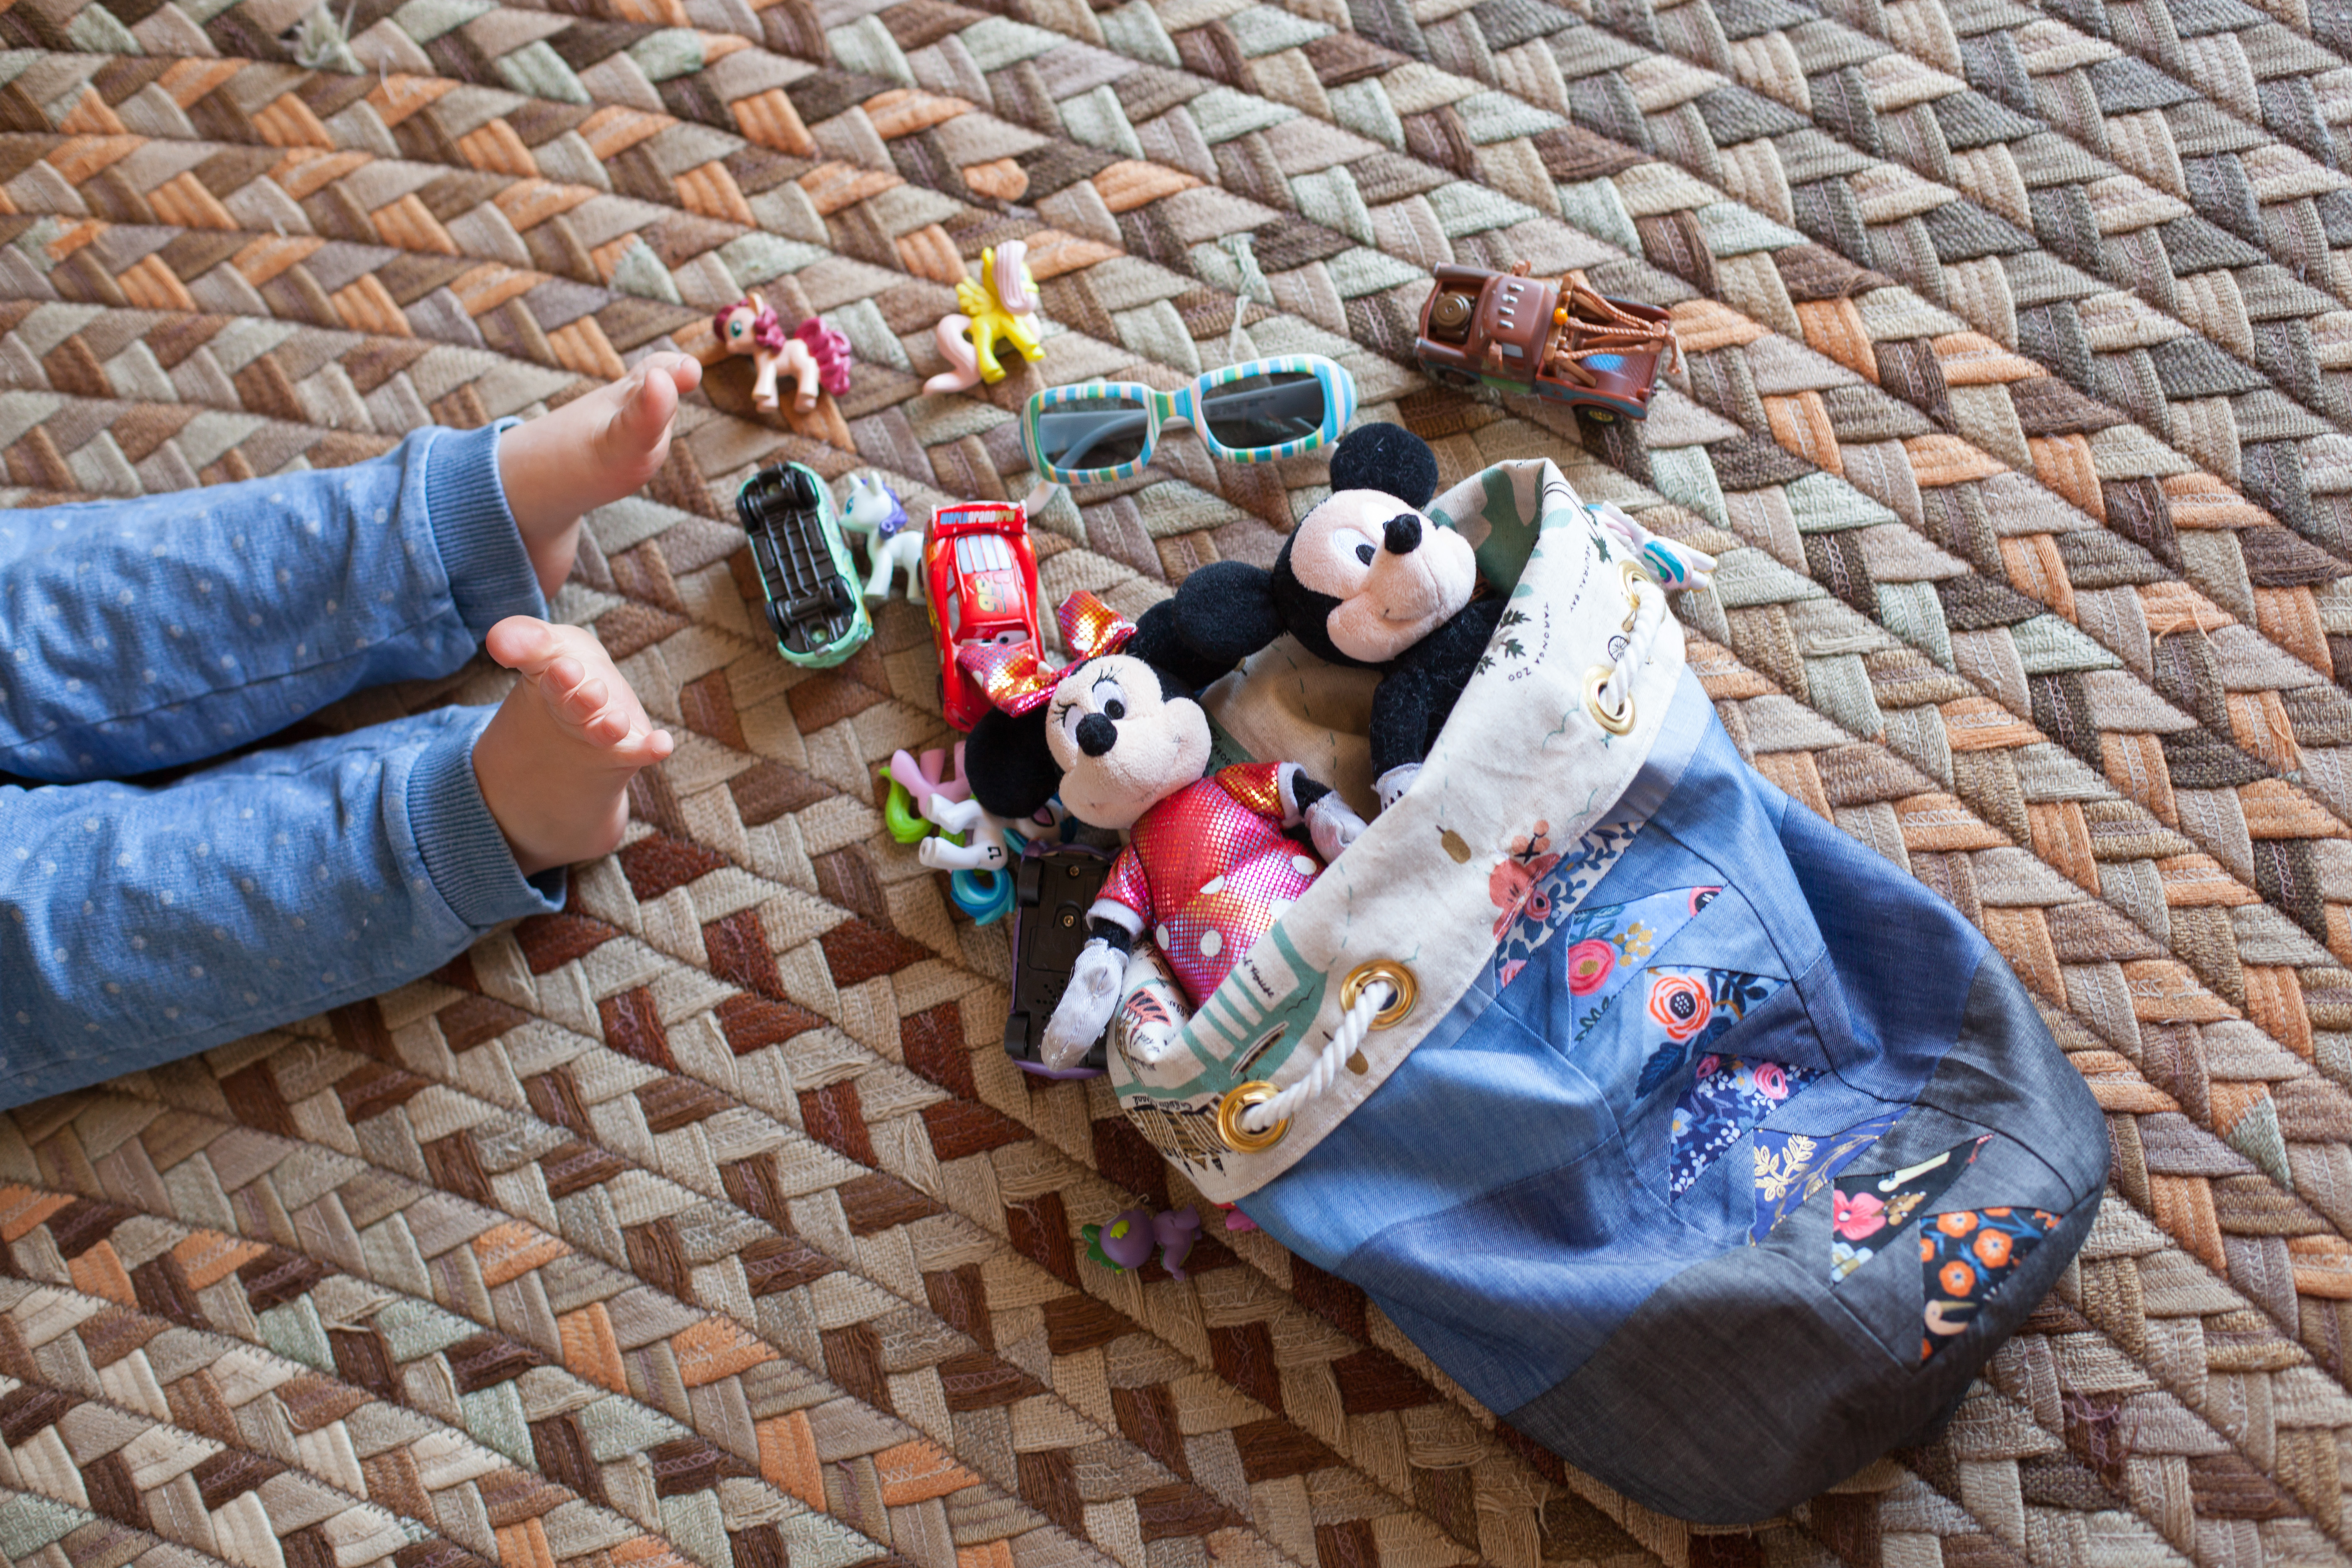
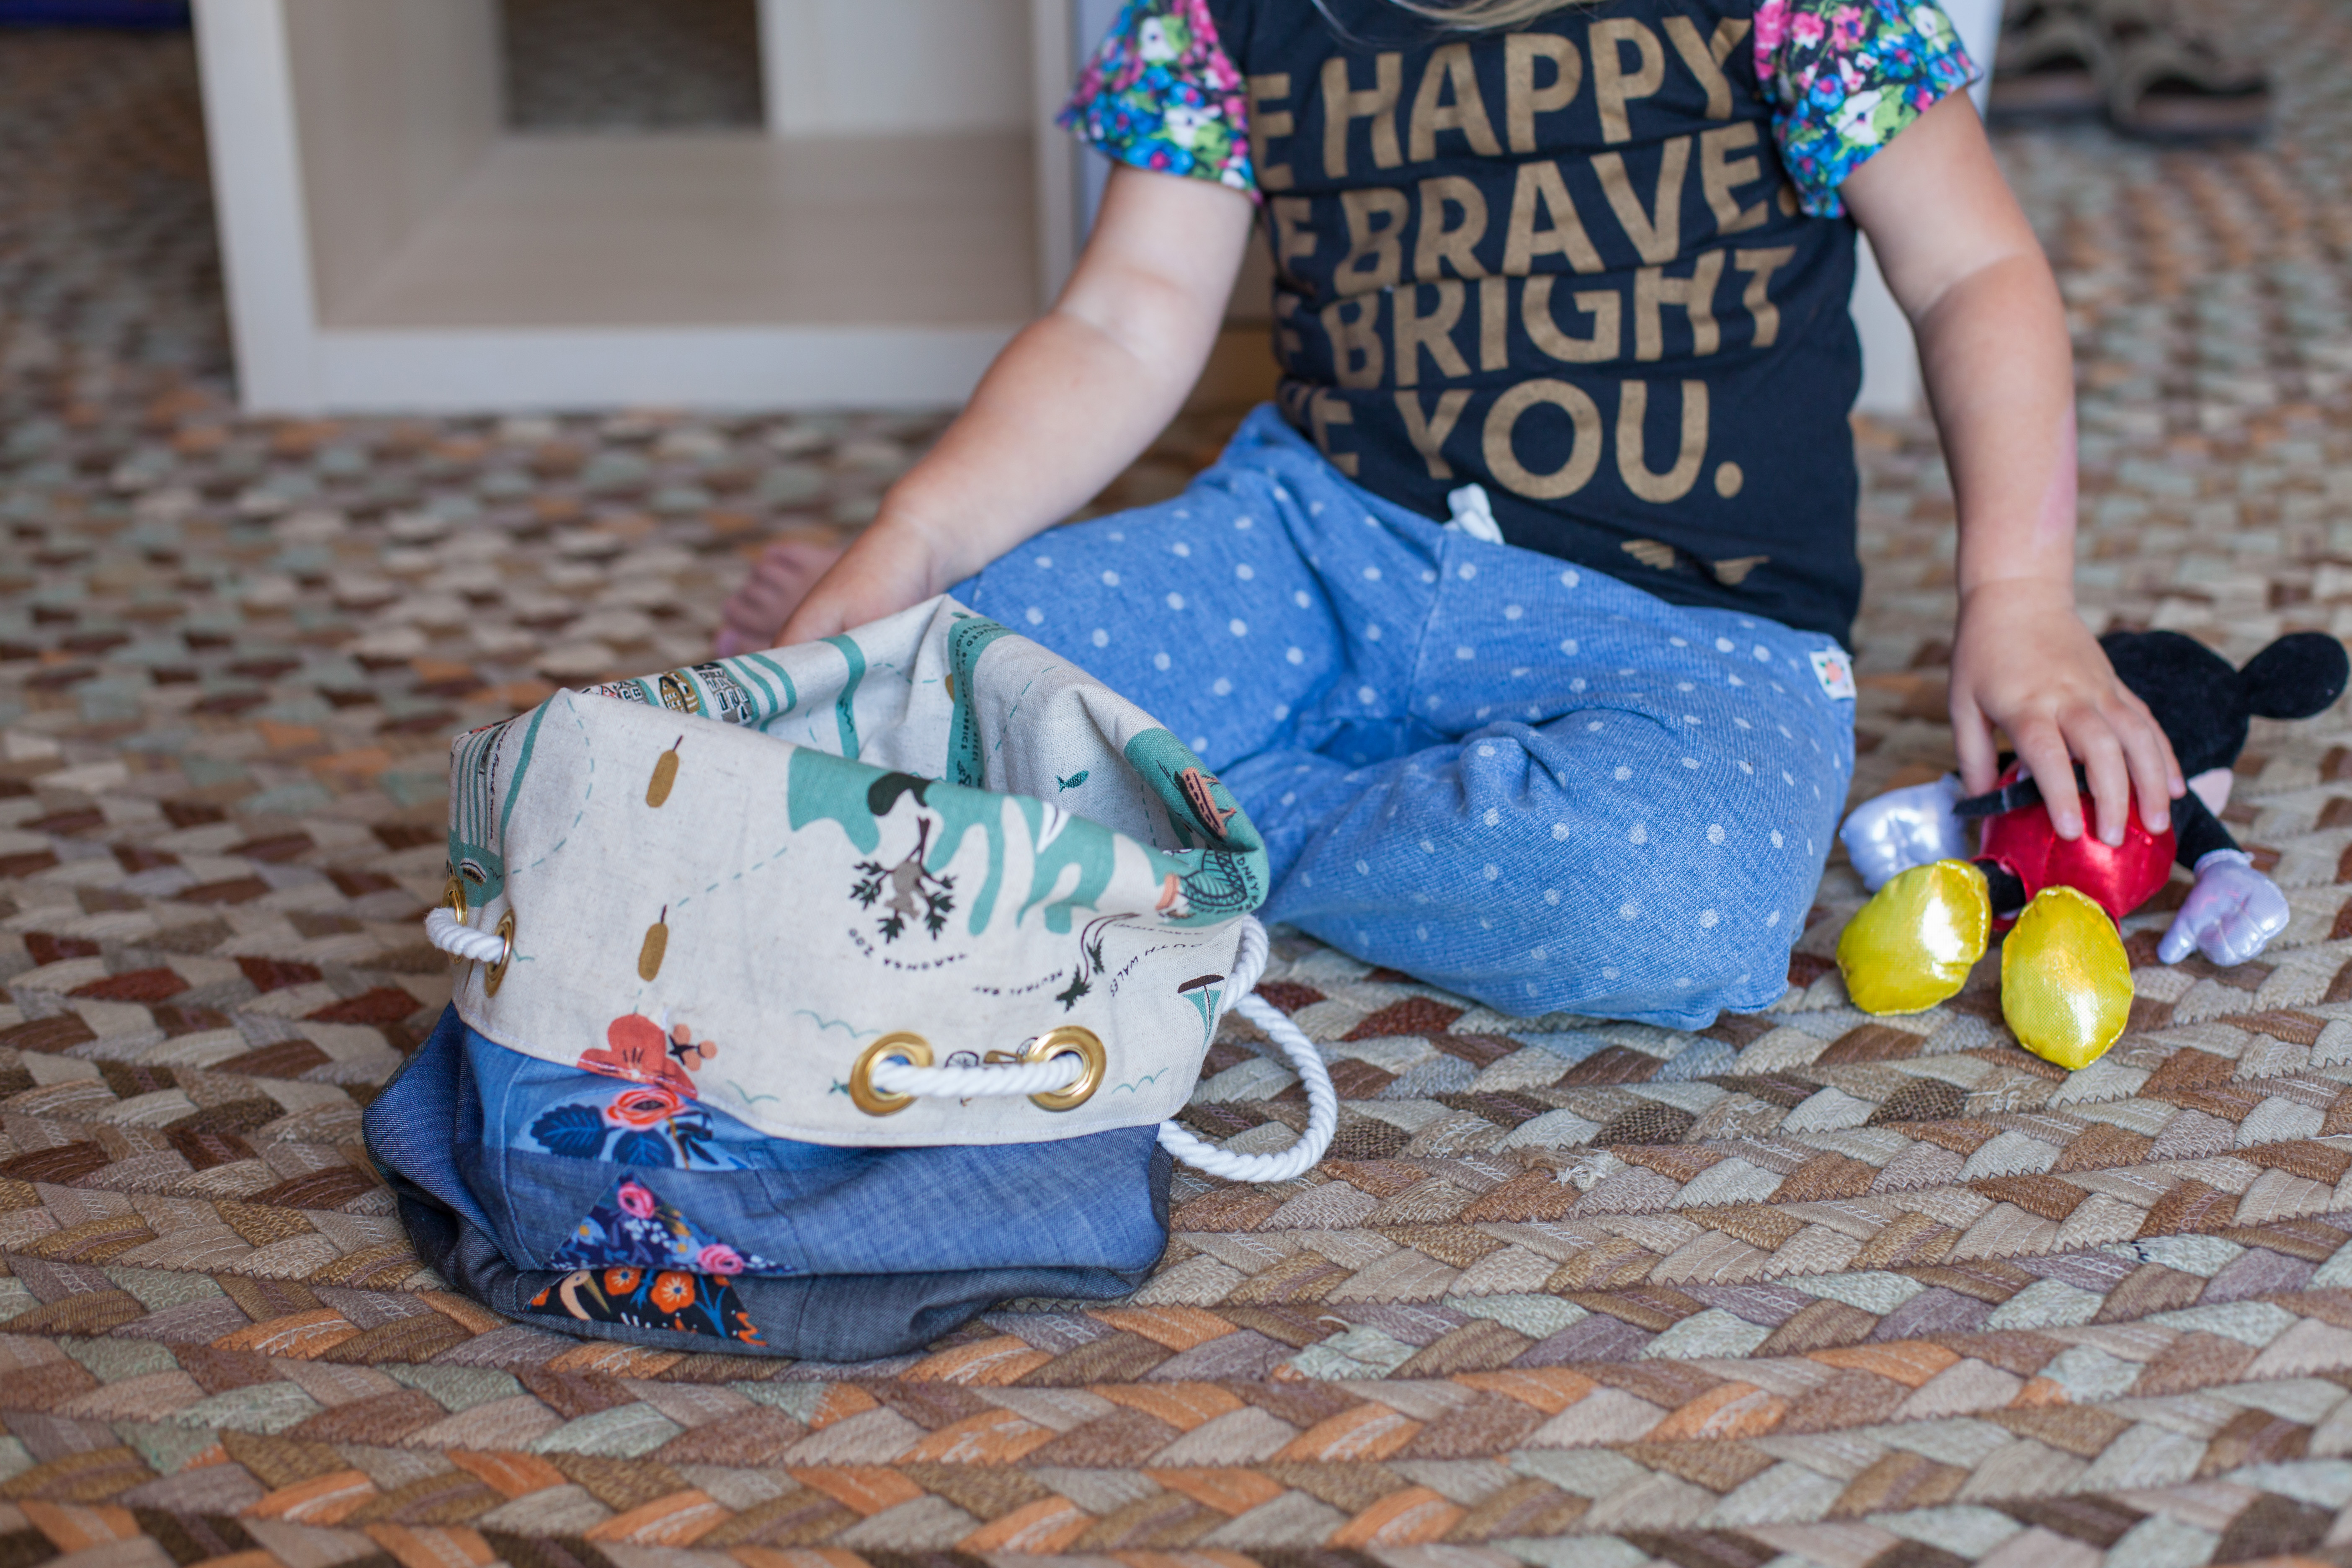
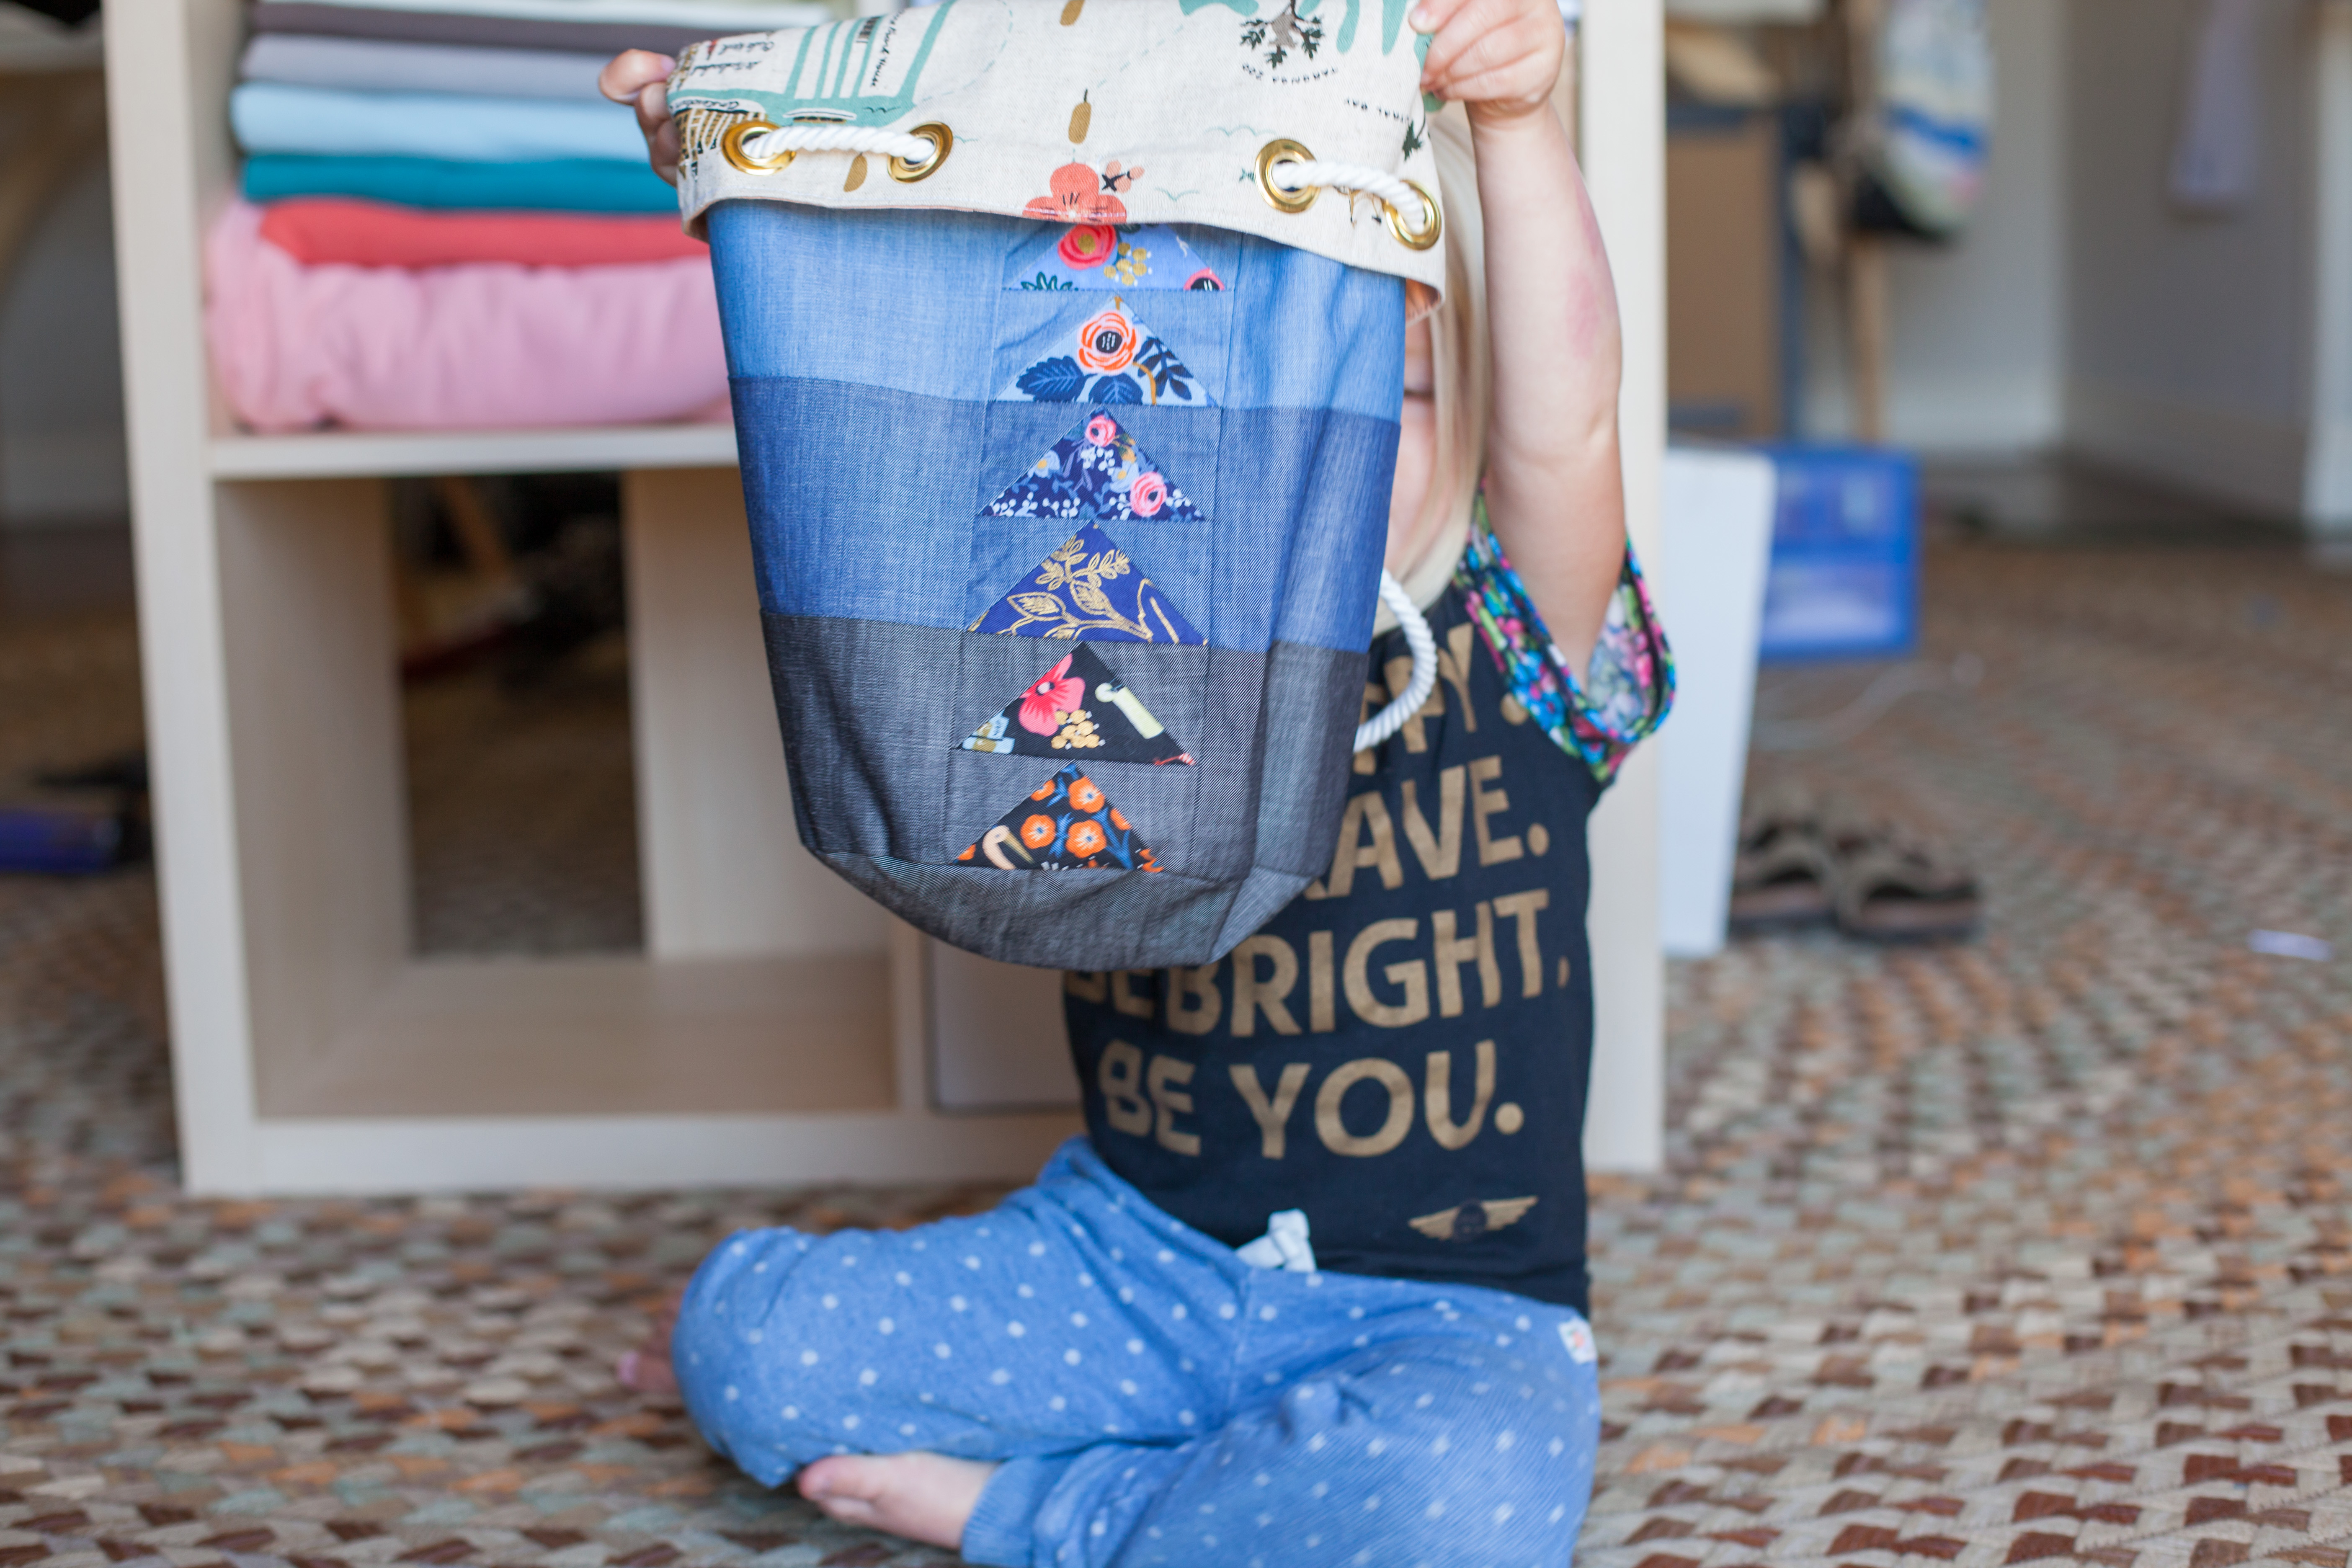
Evelyn loves her bag. She immediately decided it was her new carryall for toting around all those very important and necessary things toddlers need to have at all times…like cars, and ponies, and her cherished Mickey Mouse beanie. It is easy for her to open and close and haul around. Cute, functional, and just the right size for her to carry by herself. Its her new Going-to-Grammie’s-house bag, big enough for a couple toys, a change of clothes, and her blankie.
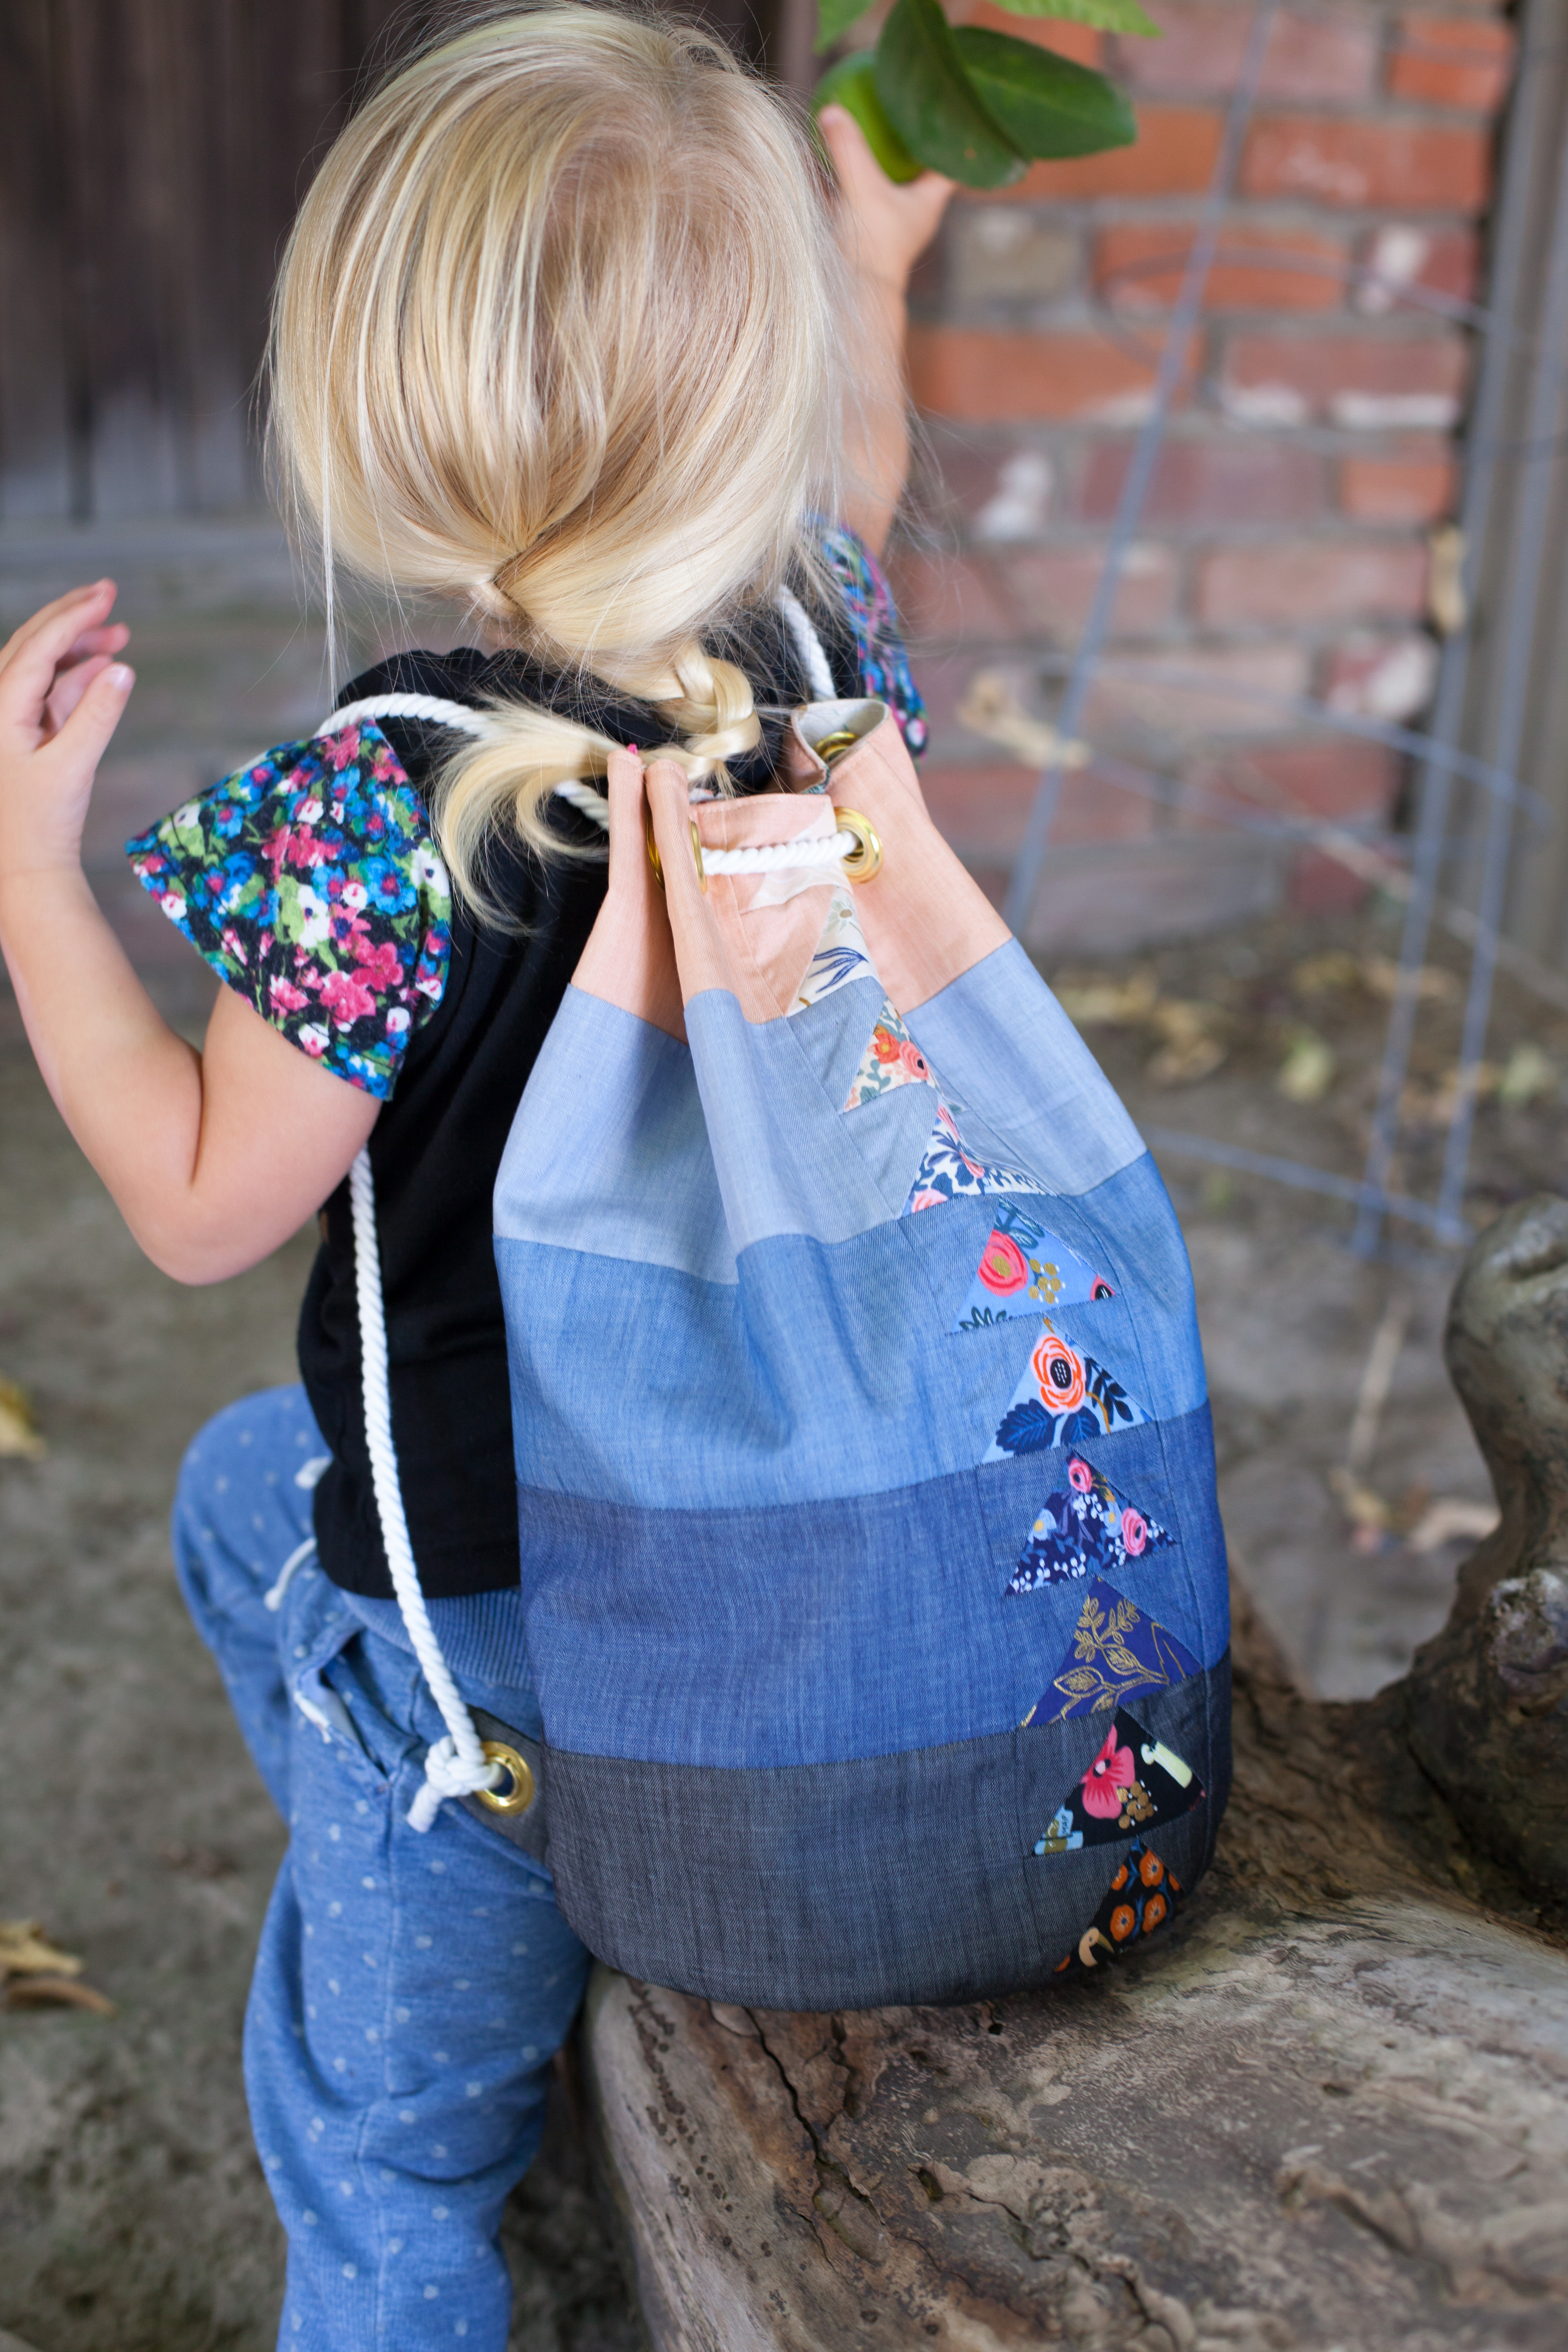
You may have noticed that Evelyn’s bag is significantly smaller than G’s version described in the tutorial. Again, my favorite aspect of this bag is the ease with which it can be customized to make in any size. If math isn’t your thing and you want to make this Shrinky Dink version then you’re in luck because I’ve got all the maths done for you already. To make the toddler sized bucket bag you will follow the exact same order of operations and construction methods as described in G’s Bucket Bag tutorial. The list below are the changes that will have to be made:
- Print the Goose template at 75% of the original size. This is done in the printer settings window right before you actually click the “PRINT” button.
NOTE: printing at a reduced size also reduces the seam allowance that is shown around the outer edge of the templates. After you have paper pieced your geese at this reduced size, MAKE SURE that you adjust the amount that you trim to 1/4″. VERY IMPORTANT. Your new cut line will be slightly outside of the trim line that is printed on the template. If you fear this is something you may forget when the time comes to trim, draw new trim lines in a red (or other color) pen before you sew your geese.
- Cut your adjoining strips that go on either side of the geese 2″ x 11.5″. you will need two for each goose (20 strips total, 2 of each color). Another note, for Evelyn’s bag I combined strips so there were 2 geese per color. The instructions in this post are for making a miniature version exactly as G did in the tutorial which is one color per every goose.
- For the bottom strip cut the following: (2) 2″ x 8″strips, and (2) 2″ x 4″ strips.
- your new outer panel should measure 25″ x 15″, cut the lining rectangle the same size
- Cut your circles for the lining and outer bottom with an 8″ diameter.
That’s it! After making these simple changes you can easily follow the tutorial exactly as it is to construct this adorable bag in miniature. They make great, quick gifts that are perfect for kids and adults alike. I should know…I gifted myself one so Evelyn and I could step out Mommy-and-Me style. WOOT WOOT!
Have Fun and Happy Sewing!
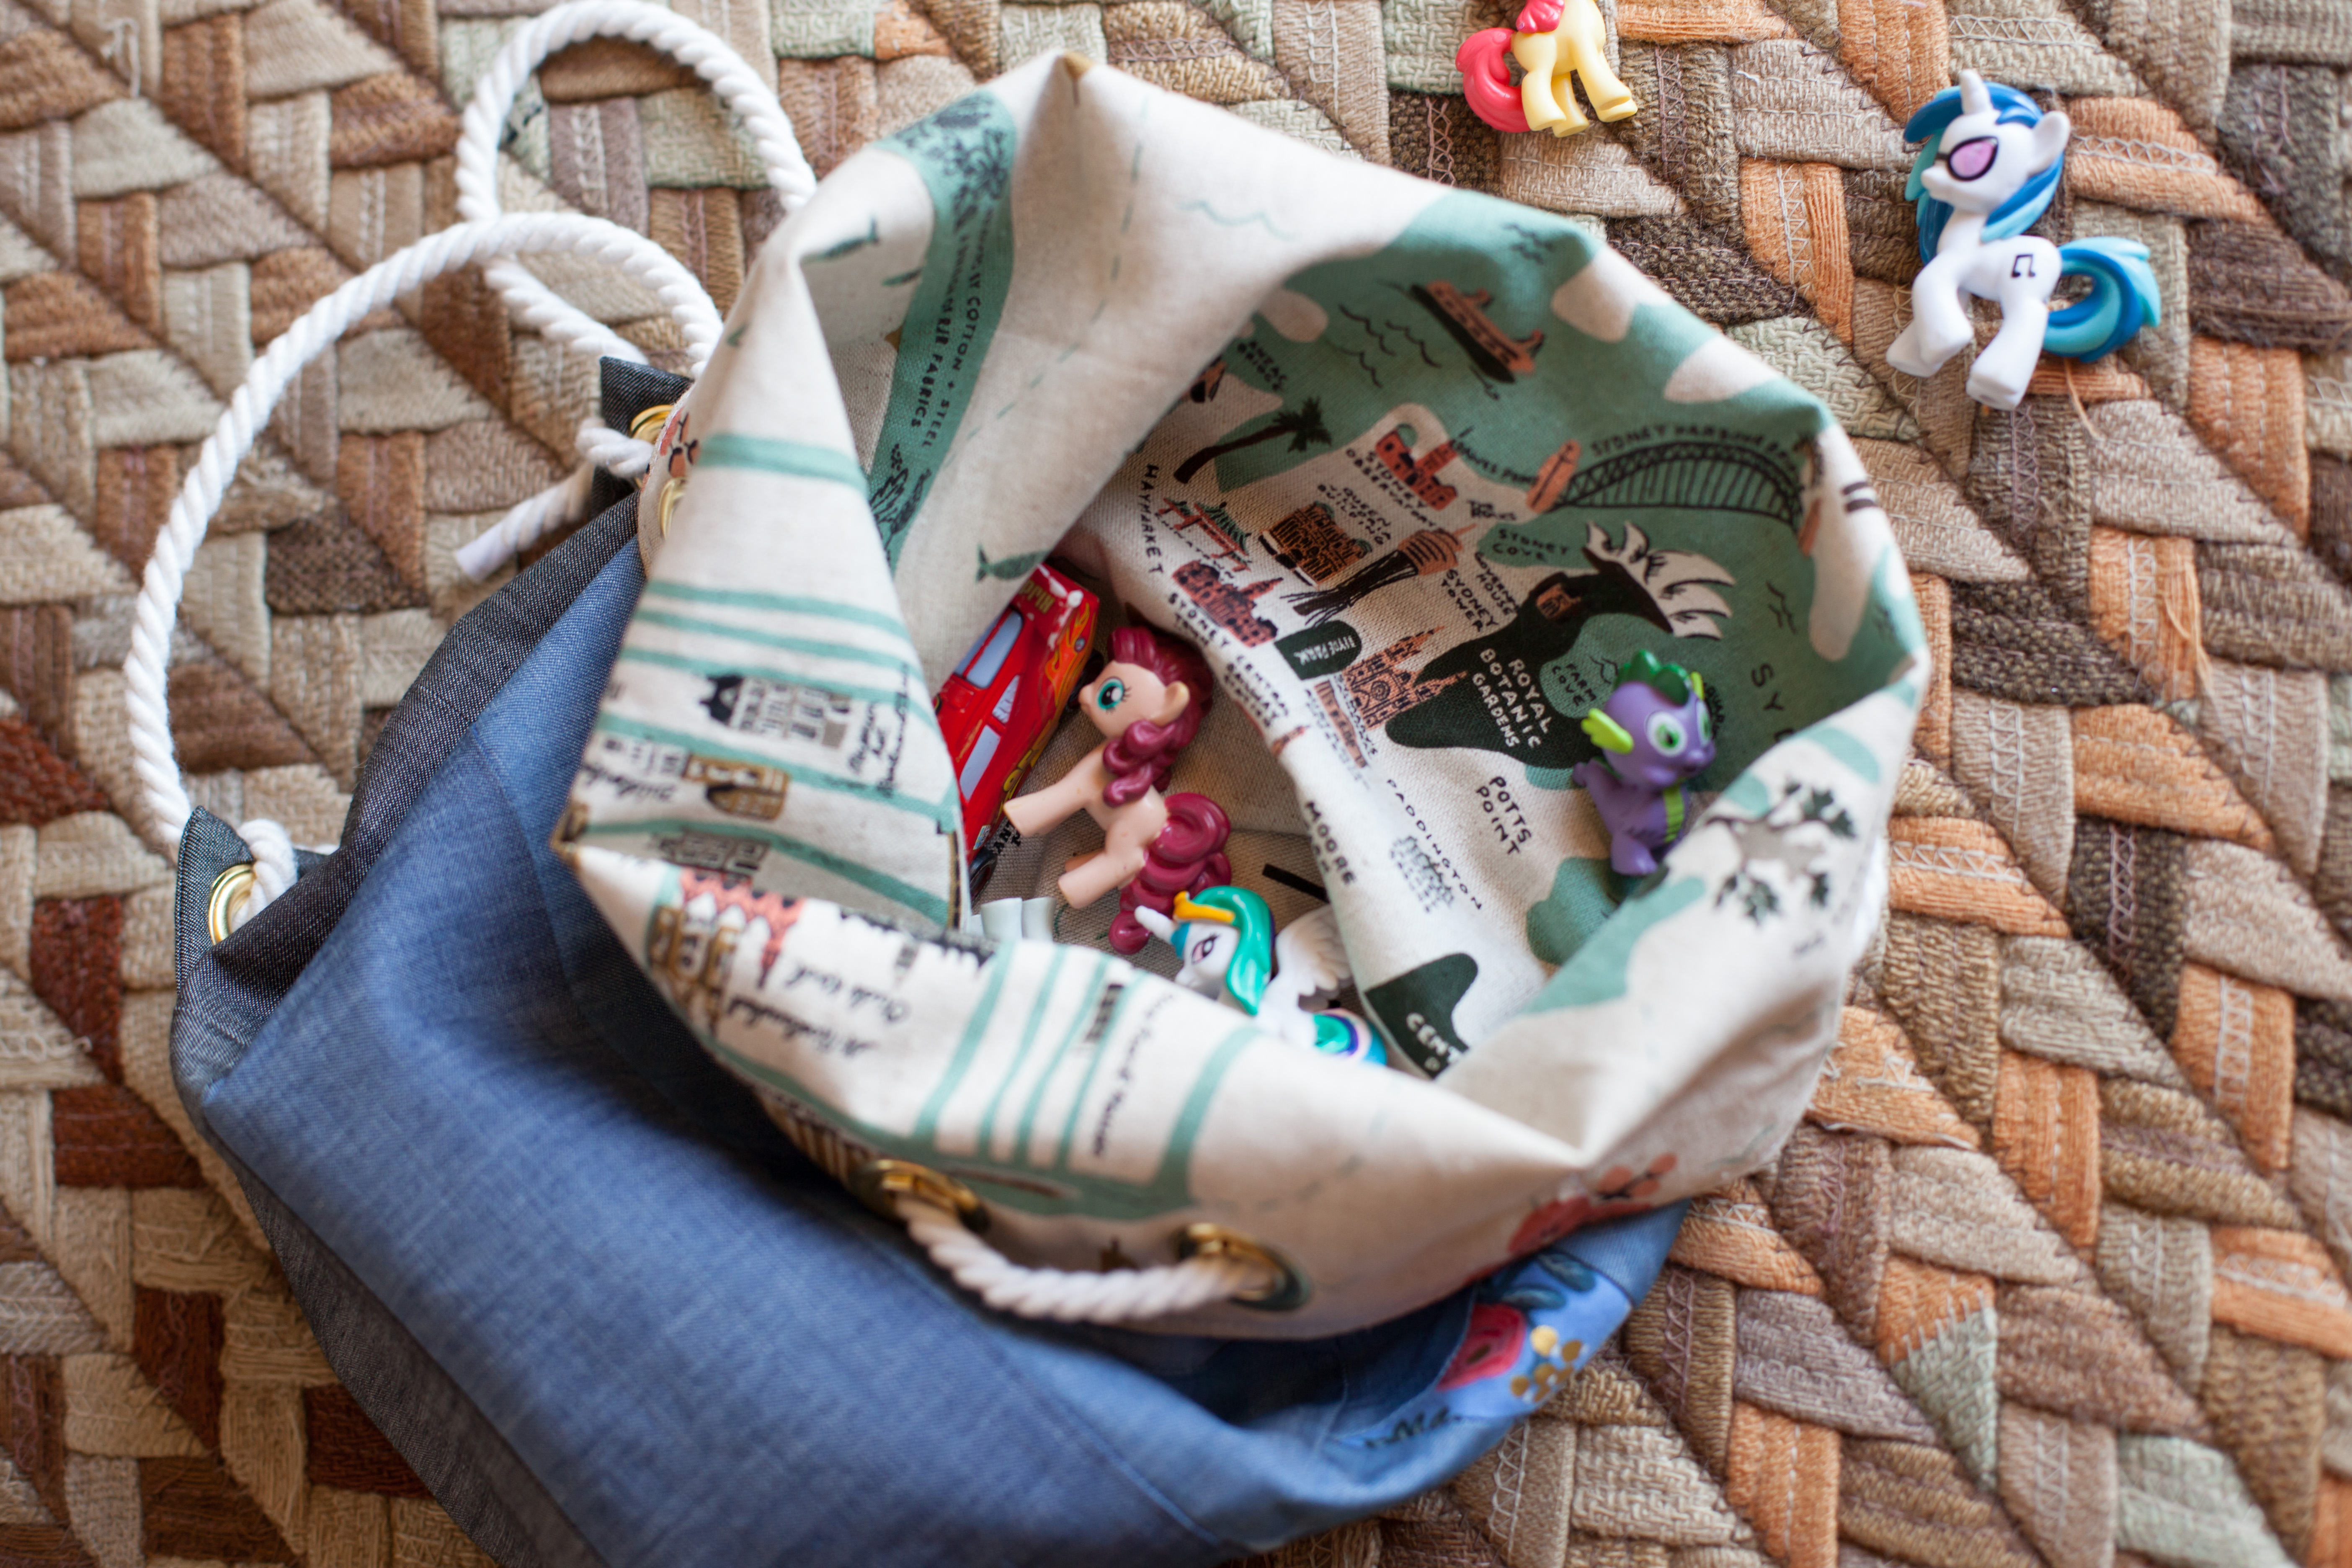
For Evelyn’s bag I used Cotton & Steel’s Les Fleurs, by Anna Bond of Rifle Paper Co. for the geese and lining canvas. The rest of the bag’s body was made with The Denim Studio by AGF. For my bag I used The Denim Studio by AGF for the geese and the lining. The printed fabrics are the Pastel Thrift line, also by Art Gallery.
Love the adjustments that you’ve made for this bag. I’m making each for one of my girls, and the “adult” size is just too big for my 5 year old! She is so excited to be getting one just for her!
I do have a question on those tabs. What size are they supposed to be before they are sewn together on three sides? I can’t for the life of me figure it out on his tutorial. My computer is making the layout of the numbers all funky… there is no way that those tabs are 42″!
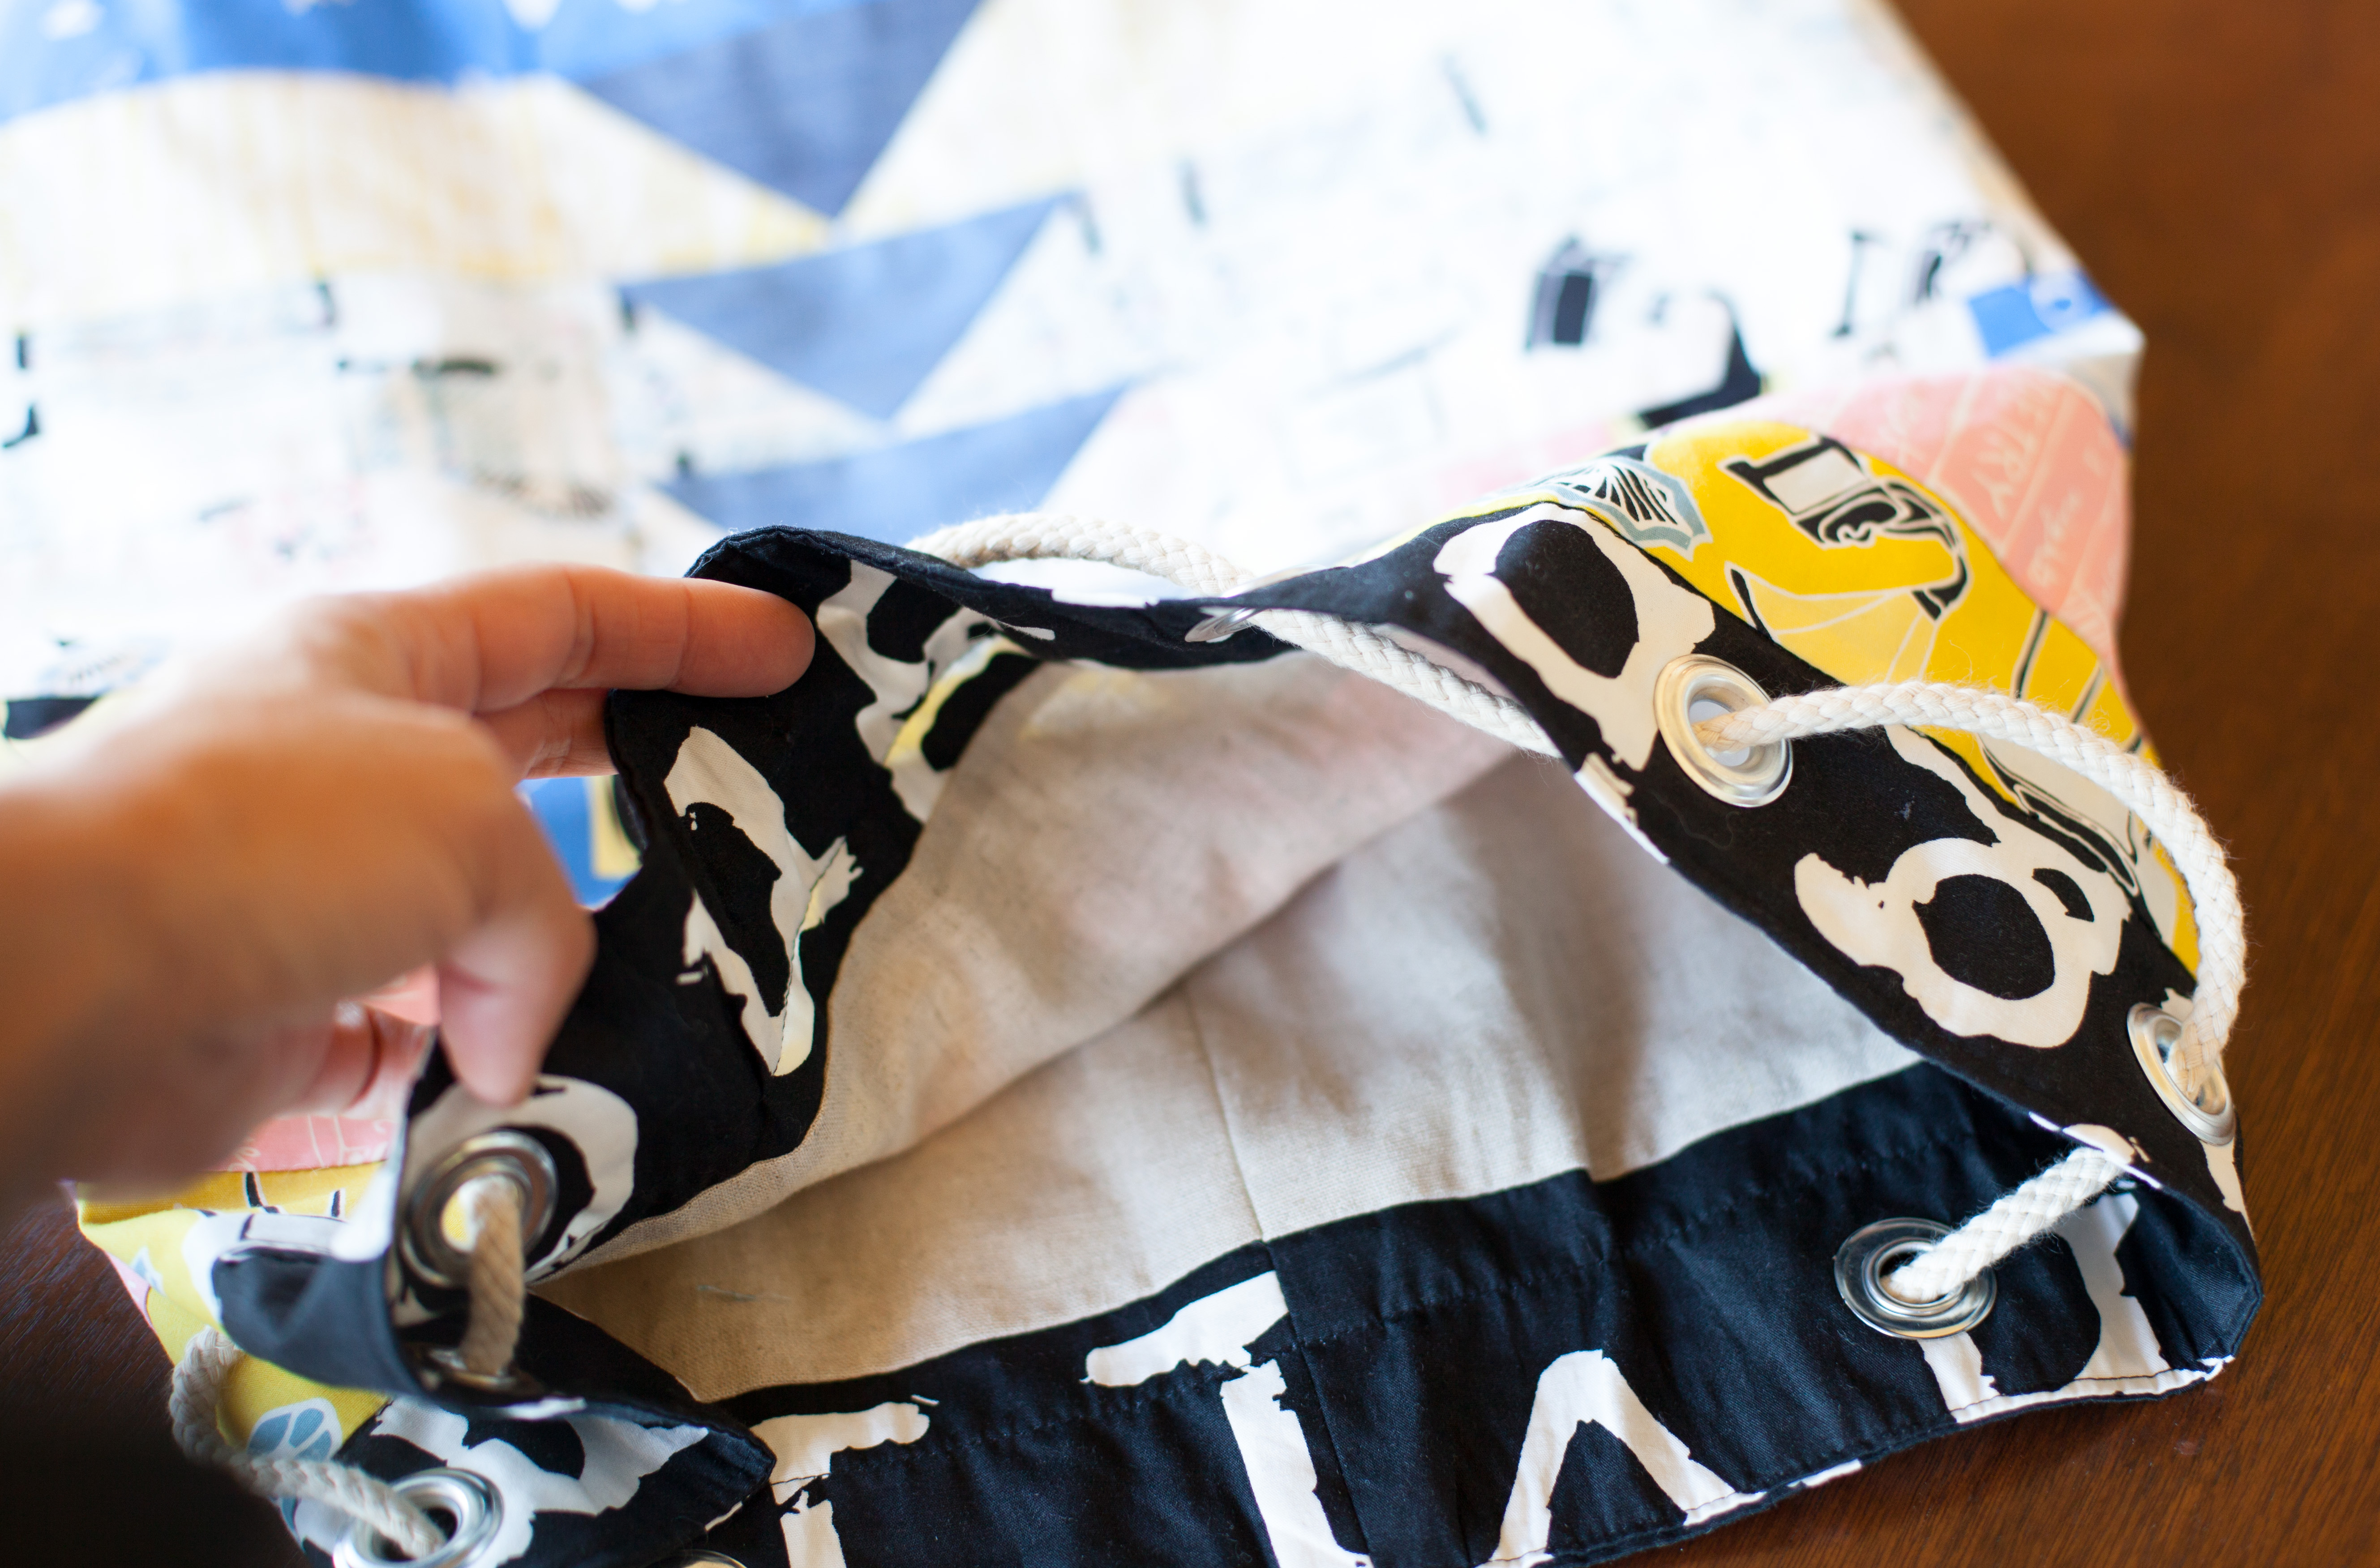
Hey there Meg. The tabs for the bag are supposed to be cut at 2.25″ x 2.5″ if memory serves me right. you sew around all but one of the shorter sides. Then turn it out. It should finish at 1.75″ x 2.25″. The shorter side gets attached to the bag. Hope that helps
Thanks for doing this! You rocks socks!!!
It was my pleasure Mathew!