
Hi there and welcome to my first post as a participant in the Celestial Star Quilt-a-long! Diane Bohn who blogs at From Blank Pages… is hosting a quilt-a-long to celebrate the release of her fabulous new pattern, the Celestial Star. This downloadable PDF pattern is available for purchase in three different sizes, 12″, 18″, and 24″. They can be purchased separately or as a group. All are available on Craftsy. This is my first QAL experience and so far I have been loving the opportunity to express myself creatively using the creative work of another as a vessel.
I have purchased and stitched up my fair share of paper-piecing patterns in the past and I found this one to be very comprehensive. One of the things I loved right away are the “add-ons” you get. Diane not only provides the pattern and detailed instructions, but also, cutting templates which greatly reduces waste of your precious fabrics. There are also multiple coloring sheets to help the pattern user plan and design their blocks and/or quilt. The reason for this I soon discovered is the practically infinite design possibilities this pattern offers. The block is a true shape-shifter. In my experimenting with it I have tried several different design approaches, all with good results.
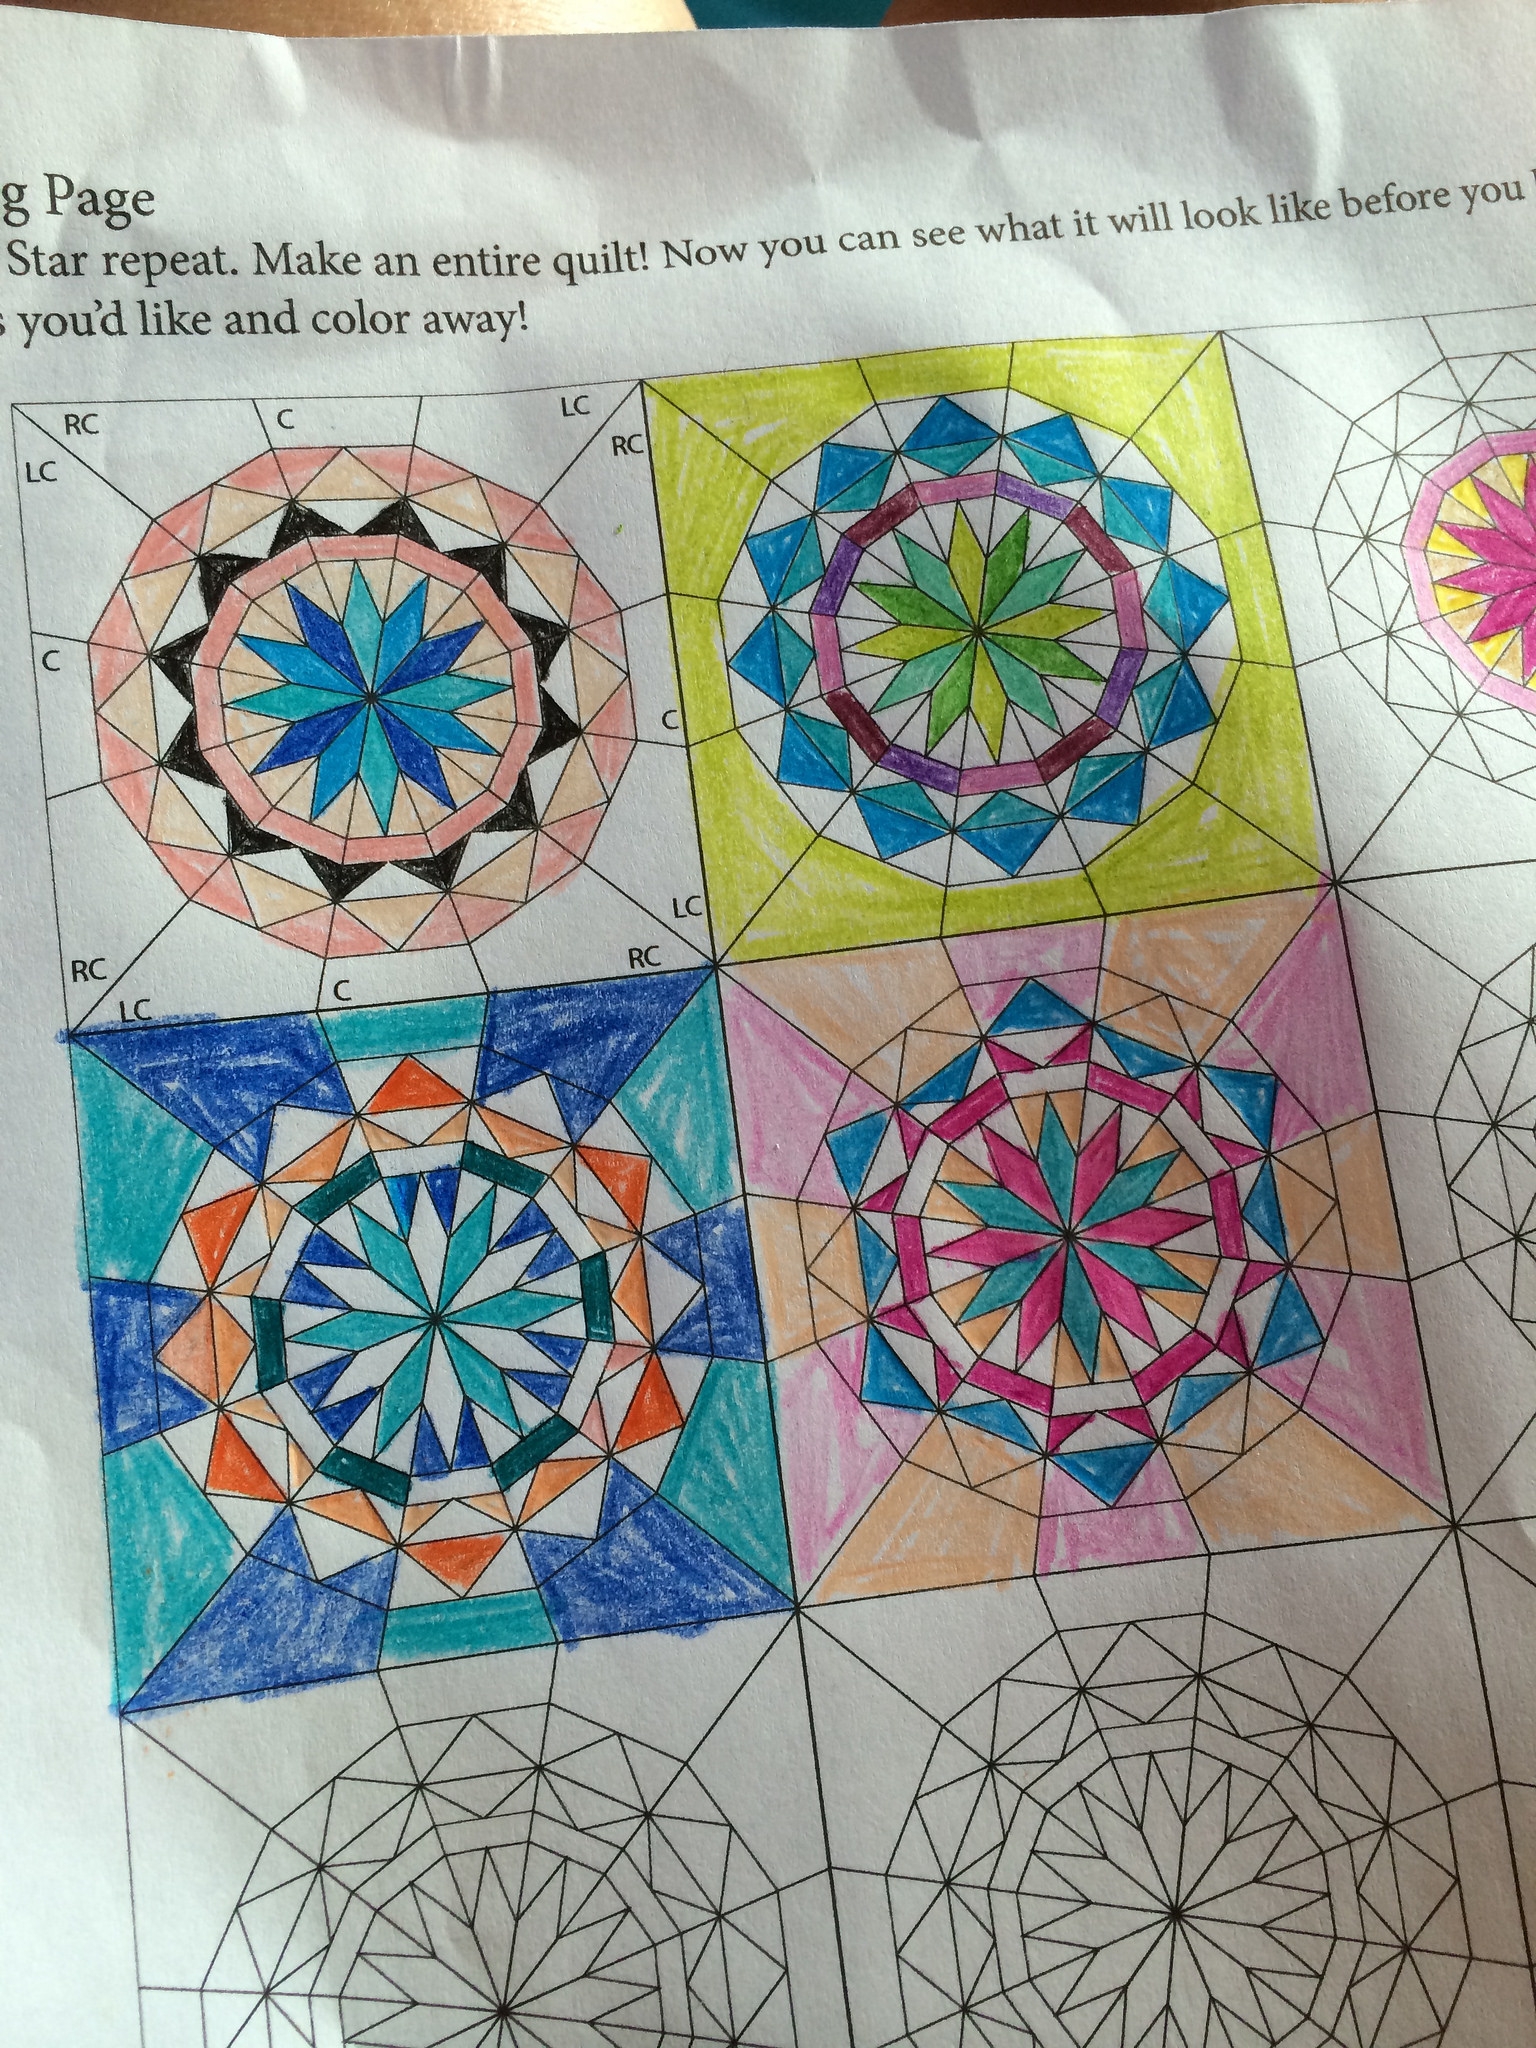
My first approach involved colored pencils. I sat on the couch with my boy and a Harry Potter movie and set my mind to figuring out what colors I wanted to use in this block. This is where excitement over possibilities, gave way to a slightly overwhelmed thoughts of ‘How will I choose a design?’ The block is so versatile. Subtle changes in colors and patterns made the block look completely different. And forget the prints and textures of actual fabric! So many possibilities! The OCD in me began to feel a little uncomfortable. ‘How will I be able to make this with out first trying all the possibilities so I can choose the one I like the very best?’ I needed a faster way to color my pages. I discovered that the time it took to color one block afforded me too much time to think about the next block, and the next, all before finishing the one. When I ceased coloring for the night I was pleased with the designs I had made but I told myself there must be a better way…a faster way. Not to mention my son’s box of Crayola pencils was severely limiting my color options and that was getting me down as well.
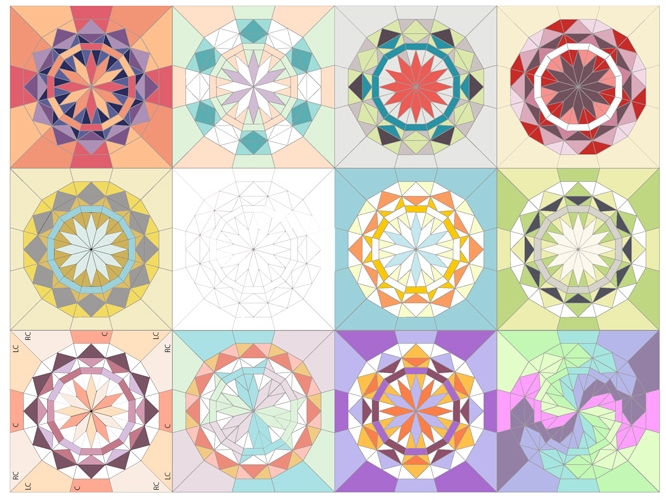
Enter technology, or rather, my very clever and talented photographer sister with a techie tip that completely changed the way I would approach this project and probably every other like it from now on. The morning after my movie and coloring session she is over at my house and I’m explaining my dilemma to her. She very nonchalantly, like its just the most obvious thing suggests, “Well why don’t you just color them in Photoshop?” My ears perked. “What do you mean?” I replied. She sits me down at the computer and proceeds to show me how to pull the PDF sheet into Adobe Photoshop and color all the individual sections of the coloring page as if it were a digital coloring book. Mind. Blown. Ask and ye shall receive. It was exactly the solution I longed for as I sat coloring on the couch. With my sister’s two minute tutorial I was able to pull up the coloring pages and after about an hour of playing with colors I was able to create this.
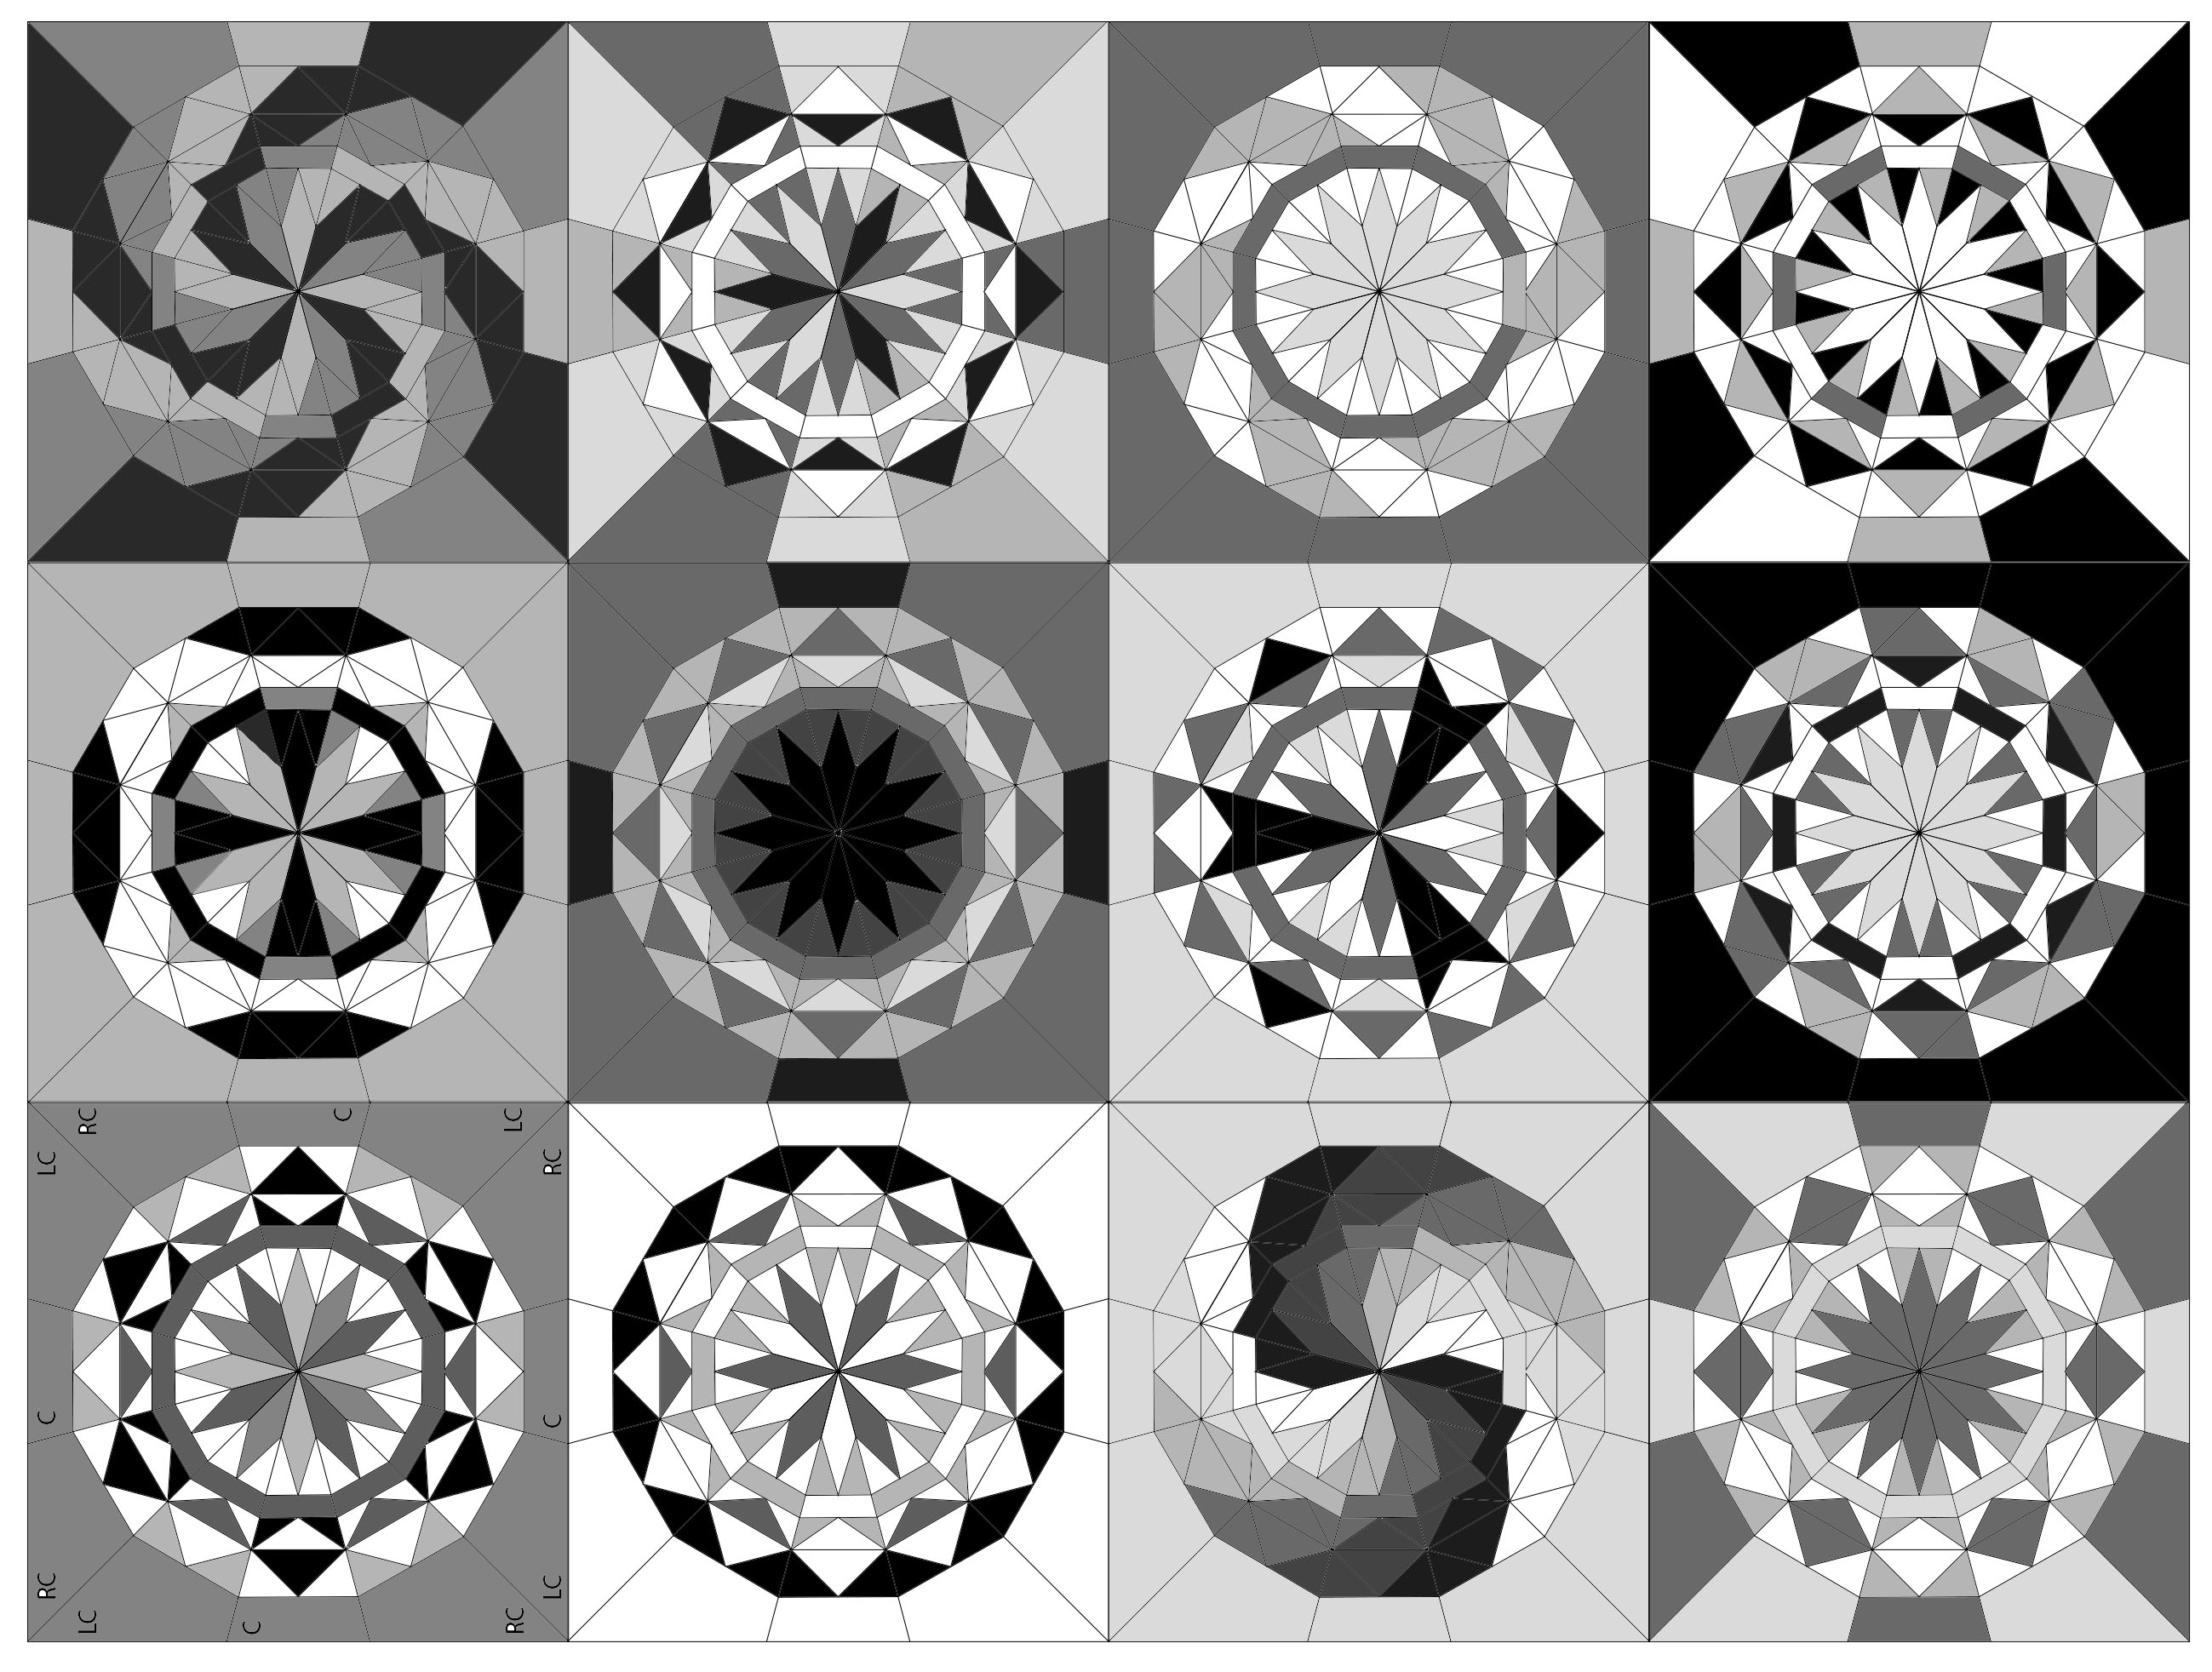
Wouldn’t you be excited too? I was so thrilled with how well this worked that I decided to follow Diane’s advice and also create designs in varying shades of grey to create more depth in the design. She provides a fantastic tutorial on her blog for creating designs such as these in grayscale and then translating those values for fabric selection. I intend to use my grayscale mock-up to choose my fabric selections so stay tuned for that process. I have never chosen colors in that way and I’m very excited to see where that approach takes me.
In an effort to help all those participating in the quilt-a-long I am prepared to share how I was able to create these designs in Photoshop. for those who do not currently have Photoshop but are interested in giving it a try, Adobe offers a free trial available for download. Here are the instructions.
Opening The Star PDF in Photoshop
1. Locate the Celestial Star PDF pattern in it’s stored location on your computer or flash drive.
2. Once located, right click on the PDF pattern and mouse over “Open With”—>Click Adobe Photoshop

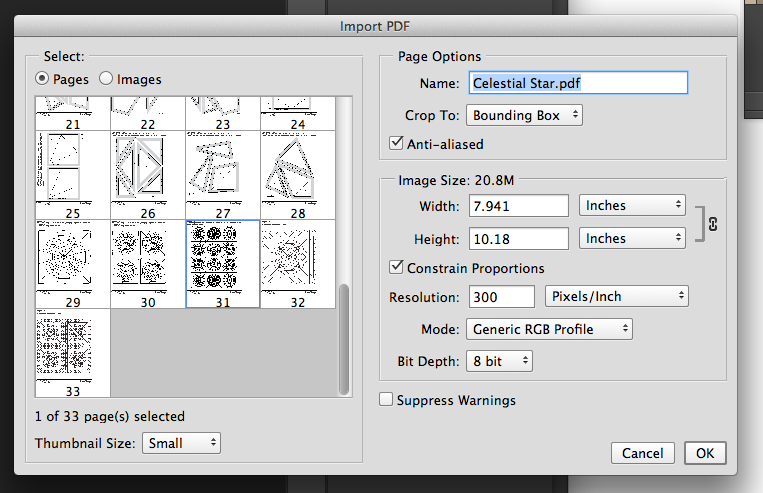
3. A new window will pop up asking which pages of the document you wish to import into Photoshop. Select the page(s) you would like to import by clicking on them. You can see here that I have selected page 31 as it is outlined in blue. (command+click to select multiple pages). Click Ok.
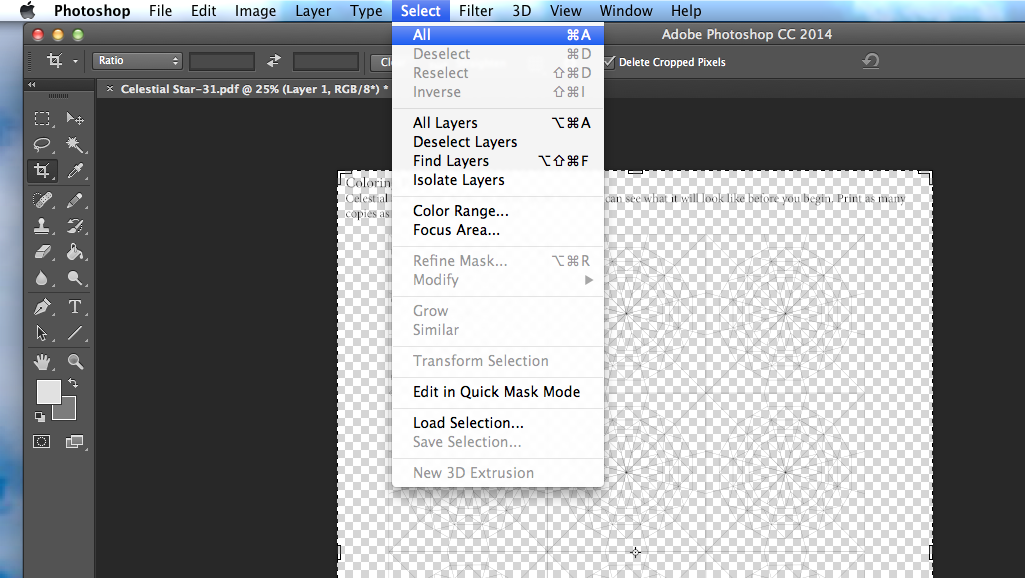
4. When the page opens up in Photoshop it will look strange with a grid pattern on top of it. To correct this you must copy and paste the page on to a white background. From the top menu bar choose “Select—>All”.
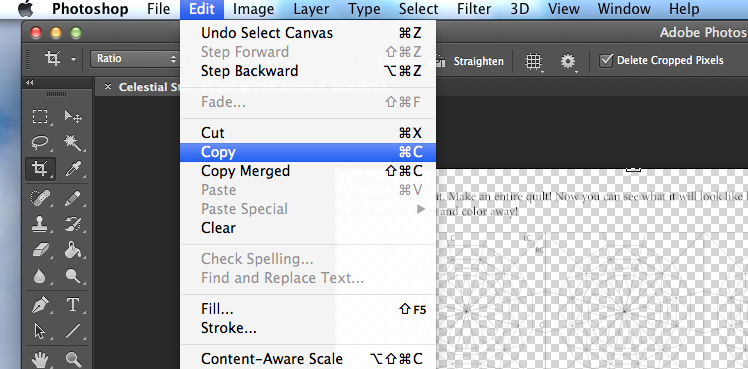
5. Next, from the top menu bar choose “Edit—>Copy”.
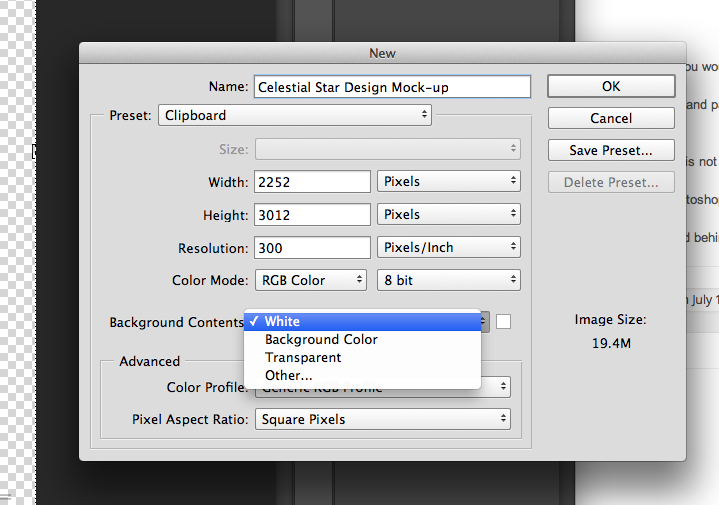
6. Now choose “File—>New”.
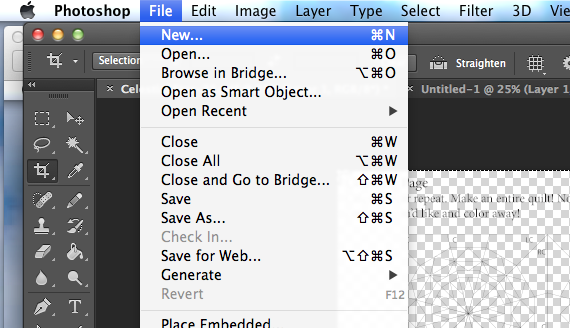
A new window will pop up where you can choose a name for the document if you like, but it is not necessary. In the drop down box labeled “Background & Contents” make sure to select “White”. Click Ok.
7. A new white document will appear and you may notice that there are now two tabs open in the Photoshop program. Photoshop layers documents similarly to the way your browser layers different windows in tabs.
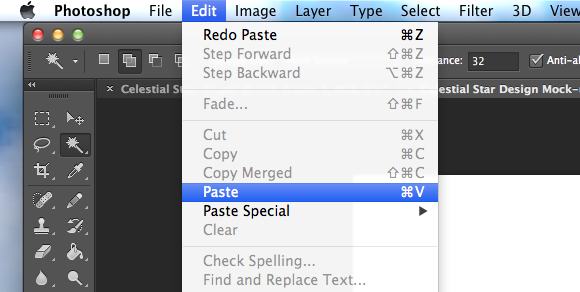
8. From the top menu choose “Edit—>Paste” and the coloring page you selected will appear now with the white background behind it.
It should look like this, or which ever page you chose to import.
9. From here go to the top menu one last time and choose “Select—>All”.
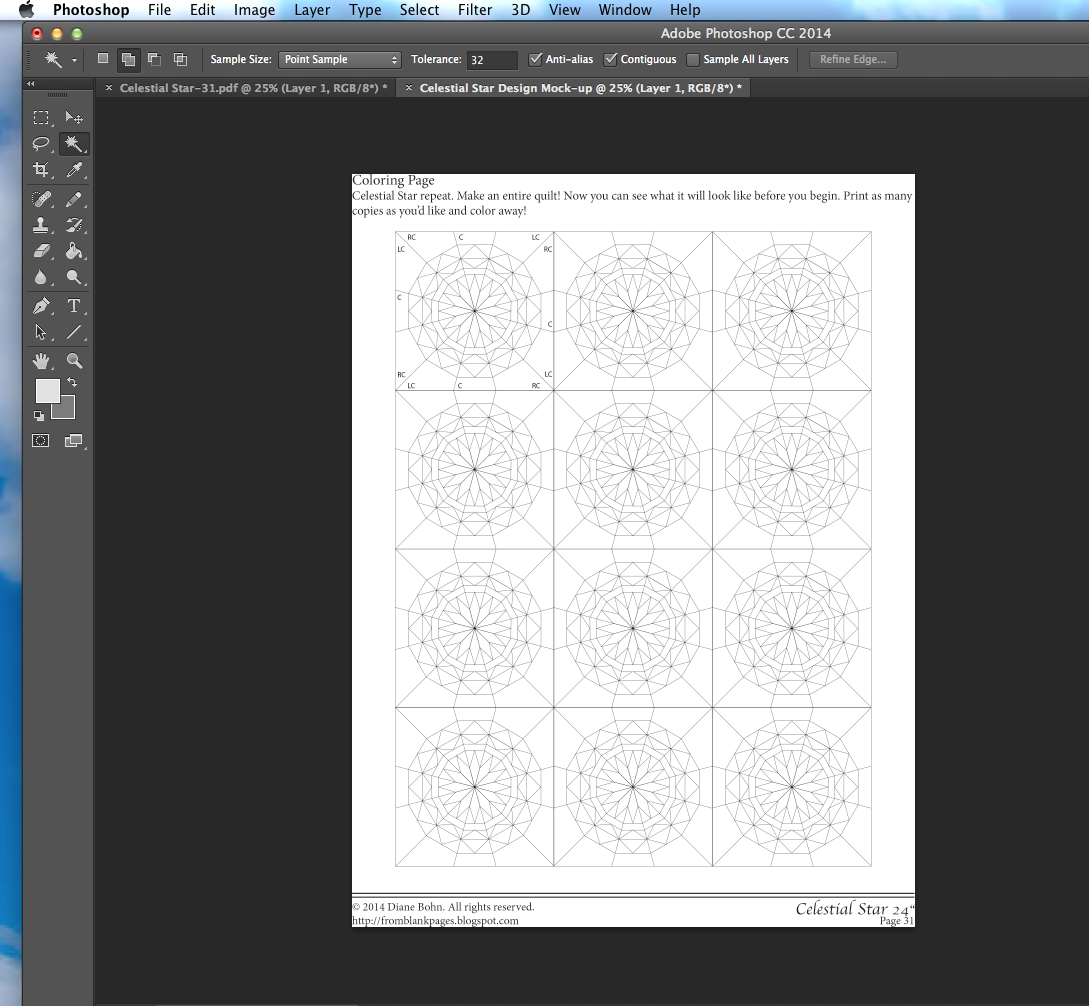
You are now ready to fill in your Celestial Star with any color you can imagine!
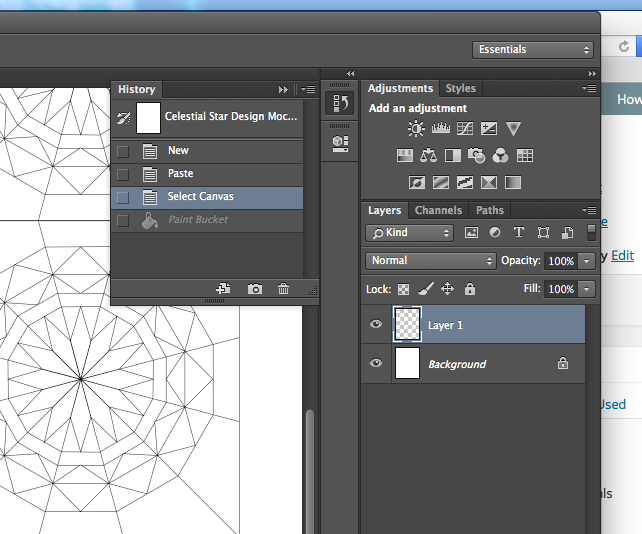
After completing these steps you should be able to use the color menu, which is on the right side of the Photoshop window to choose your colors and use the “fill” tool, which is located on the left side and looks like a paint bucket  to fill in the colors. Choose your color, then click on the space you would like to fill with that color. Make sure that “Layer 1” is selected and not the “background” layer. Otherwise you will be ‘filling’ the background with color and not the parts of the design. It is important to note a couple things about this method. Photoshop records your actions in in the order that you make them and undoes your actions in reverse order. That is to say, If you added a color twelve steps back and decide you don’t like that particular color in that place, you will have to undo every action that came after it in order to undo that one. I often found that if I wasn’t particularly fond of an action that I had made it was often better to just go with it and try a different idea on the next block. It may seem confusing but once you play with the program a bit it makes sense. To undo an action you must go into the history which is located on the right side of the Photoshop window near the colors options. To open the history click on the button that has the three stacked boxes and the arrow swooping up.
Another thing to note is that the eye dropper tool  can be very useful for ‘grabbing’ colors that you have already used. I found this especially useful when I was doing the grayscale design. Just make sure that if you use the eyedropper to grab a color, you must click the fill button again to place that color in the design.
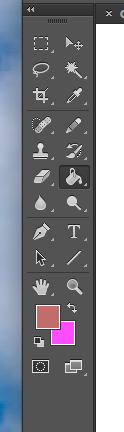
Regarding the color swatches that are in the main tool box seen here in shades of pink and red it is important to note that the color that is on top is the color that you are currently working with and the arrows you see beside those two swatches allow you to toggle between those two colors. If you click on either of those colors an expanded color menu will open that will allow you to enter any hex code you want. Did you catch that? Any color that exist in a hex can be entered there and down the rabbit hole you go… Next stop….Design-Seeds. Woohooo!!!!